Travel Photography - How I Edit
Last week I shared how I like to shoot travel photography. This week I want to expand on that and show how I edit my photos. My aesthetic is clean and I prefer true to life images so here are my general tips on achieving that look.
1. Tools
I used to use Adobe's Lightroom to process my imagery but I found that it can be time consuming even when using the awesome mobile app version. Currently I am loving the vsco (visual supply company) app, which is far less expensive and good enough for my style of editing. Vsco has all the editing tools I need in one place, I can use it on the go, and it has lots of fantastic filters.

2. Lighting & Exposure
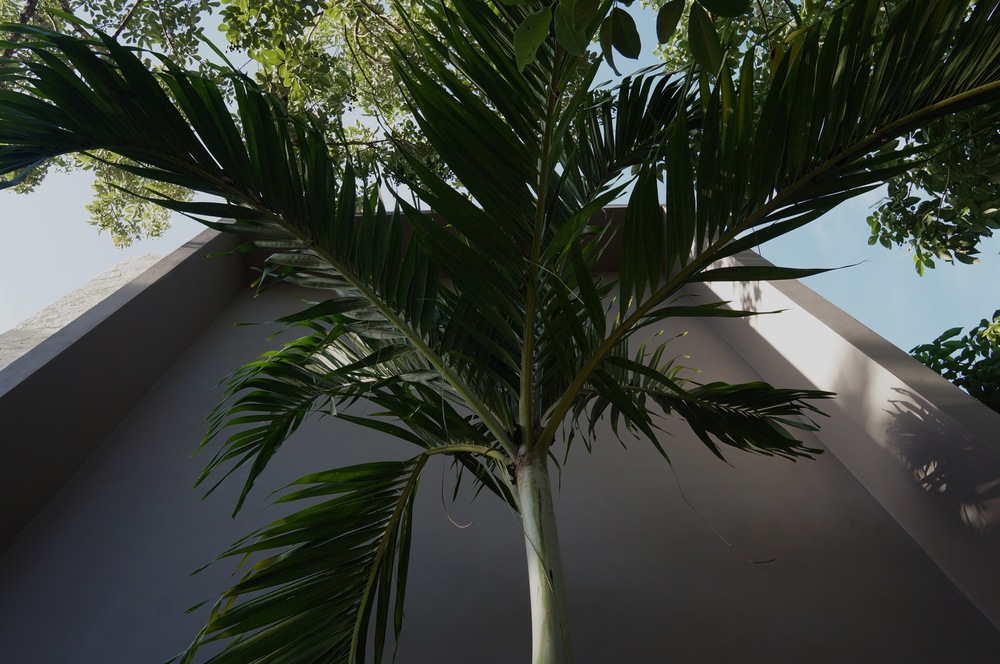
I think every good photo starts with considering lighting. I prefer natural sunlight and diffused light in my pics to give good clarity and color. That means enough light to ensure your camera can capture your subject without producing much grain or losing detail. I also avoid harsh and dark shadows generally. Lighting is something you definitely want to consider when you are shooting, but it will also play a role when editing. If an image is a bit dim I like to bump up the exposure (aka brightness) to brighten it up. I often look for something that should be white in my picture and make sure it is white and not grey or yellowish. I do this just enough as to not overexpose the image (remove all the blacks and shadows) but just enough so the photo feels light and happy.

3. PERSPECTIVES & LINES
I have a thing for symmetry and spatial balance in photos. I try to find lines whether they actually appear or just give the illusion of one and then rotate my photo to make that line straight. For this I use the vsco straighten, horizontal perspective and vertical perspective tools. The latter 2 tools are great if you picture is a bit askew because you shot it from an awkward angle and the straighten tool can do full rotations or very minute straightening.


4. CROPPING & FRAMING
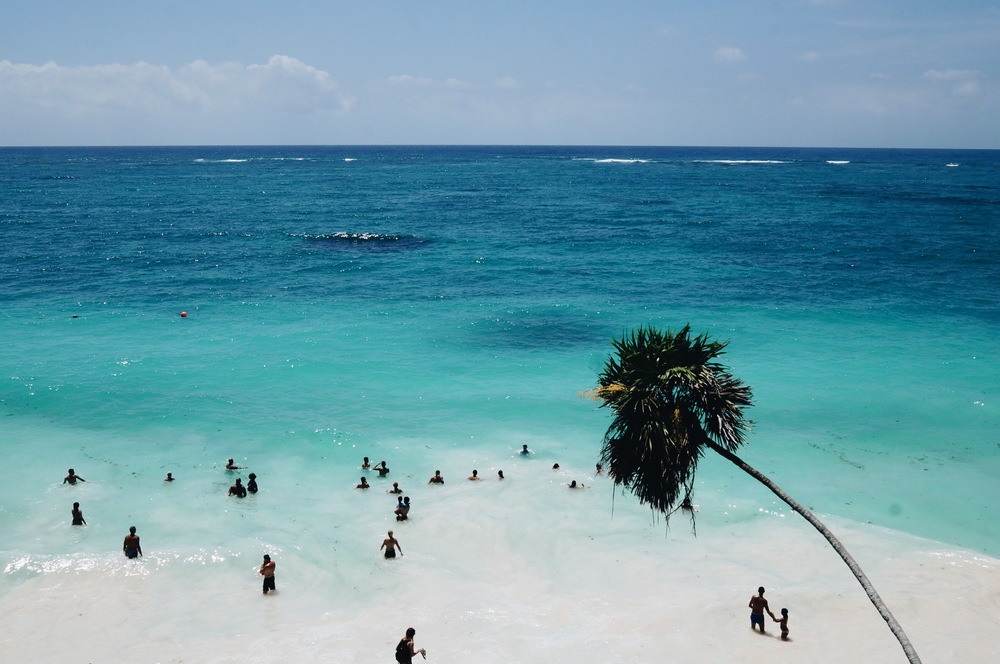
I don't often crop my photos because automatically it reduces the number of pixels and thus resolution so if I go to print or display in large format the pictures could become blurry. But in some circumstances a photo could do with a bit of strategic cropping. Often I will remove unwanted objects. I also like to crop in order to better frame the subject of a photo. In the photo of the ruins below I both removed the tourist rope in the bottom right corner, an artifact in the blue sky, and framed the ruins with the natural plant life in the shot.


5. FILTERS
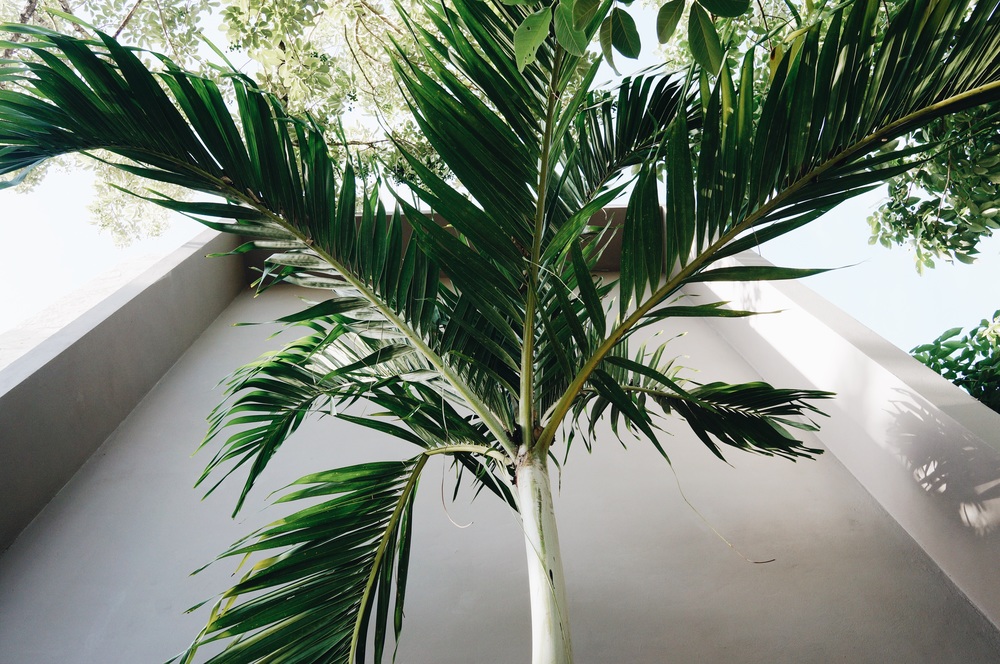
Filters help create a mood and bring cohesion to a series of images. I try to find ones with minimal color shifts and decrease its intensity a bit. There are many free filters on vsco but my favorite right now is A6 which I bought (for a dollar) in a set of 3 as part of vsco's "Aesthetic Series." I also love the "Legacy" collection that gives a very analog and serious vibe to photos. Now check out the previously edited photos with the A6 filter. The changes are subtle but give the images that extra polish.


This ends it for part two of my travel photography series! I hope this was helpful, and if you haven't yet check out part one with my shooting tips!