What feels like too long ago, I spent nine glorious days with my sister in Costa Rica. When deciding on where to go within the country we couldn't decide between the Caribbean or Pacific coasts, and missing the rainforest wasn't an option so we decided to get a see of all three! If you are looking for a weeklong Costa Rican itinerary, here it is!


When & Where to Go
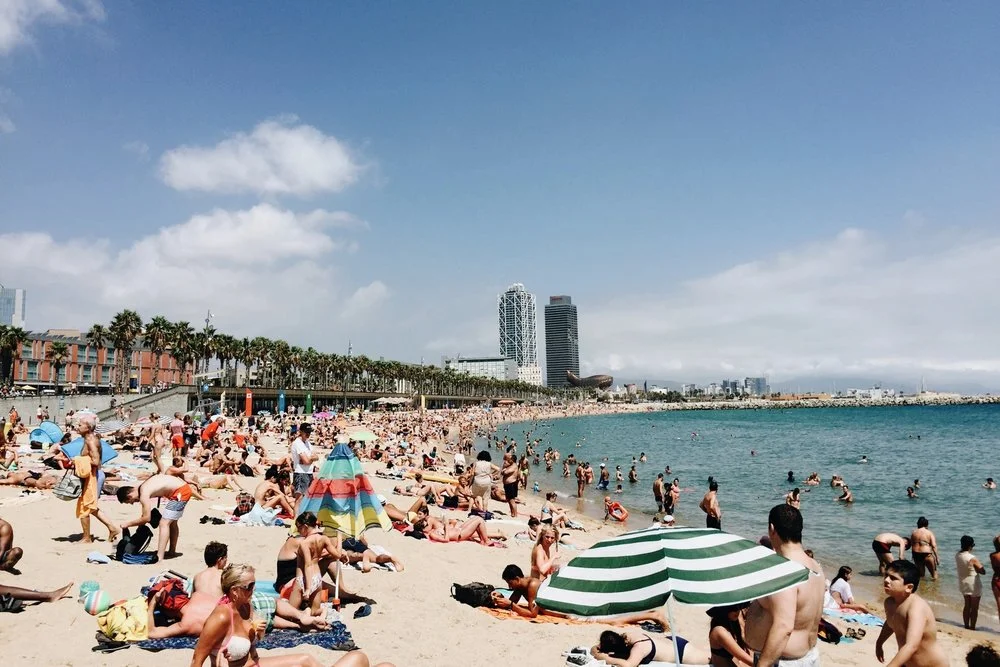
If you are looking to visit many parts of the country as I did, January to April are a pretty safe bet weather-wise. This period is high season but unlike most major beach destinations in the region Costa Rica doesn't feel super touristy. Maybe it's because of the country's strong commitment to eco-tourism, regardless it was quite a treat!
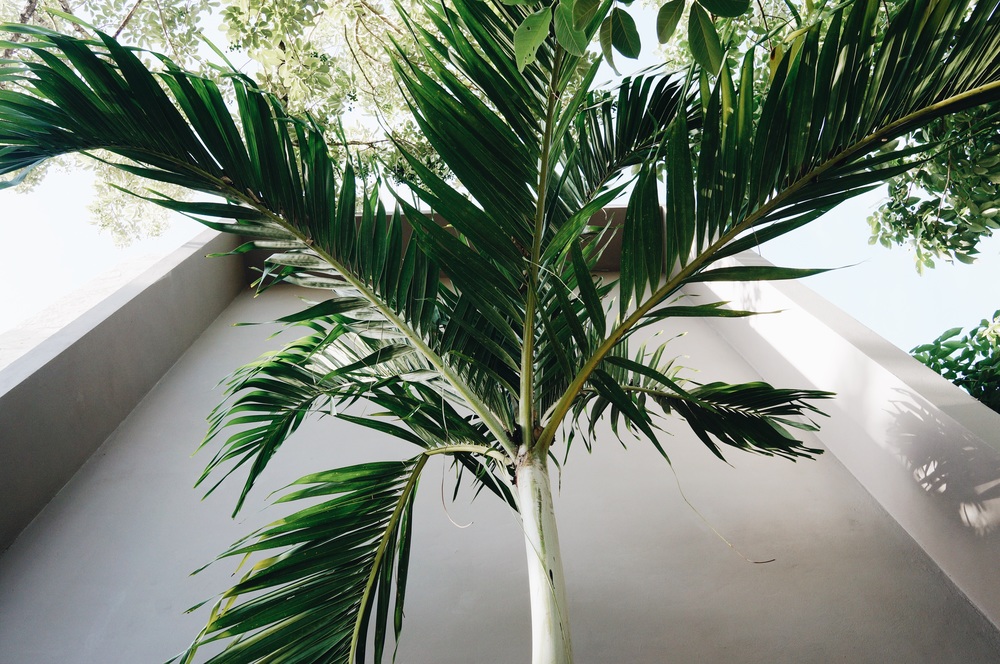
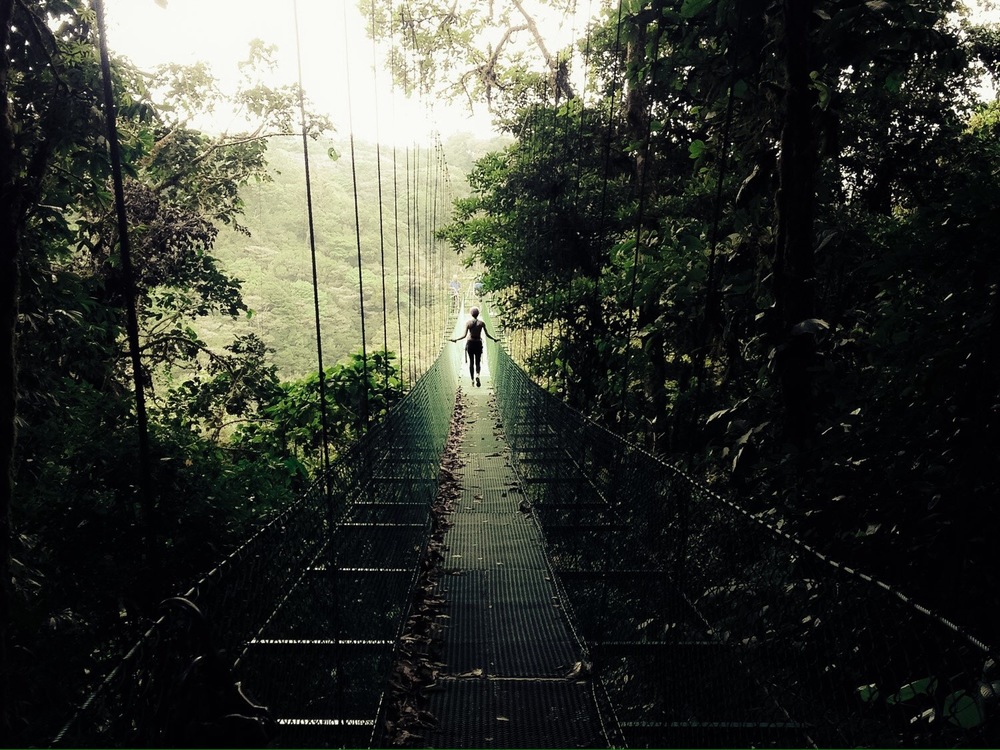
We flew into the capital, San Jose, and spent an evening and half of the next day exploring the city before heading for the Pacific Coast (3 nights) by bas (check out bus schedules here). We decided to go the bohemian town of Montezuma on the Nicoya peninsula. One hour and a half bus trip, a sunset ferry ride, and a second 2 hour bus later and we were there! Next was off to the Rainforest (2 nights). We rode past banana plantations and into the mountains toward Santa Elena, Monteverde. After a day or so of hiking and ziplining across the rainforest canopy, we chose to leave the mountains early to head to laid back Puerto Viejo de Talamanca and spend our last days on the Caribbean Coast (3 nights).
Where to Stay
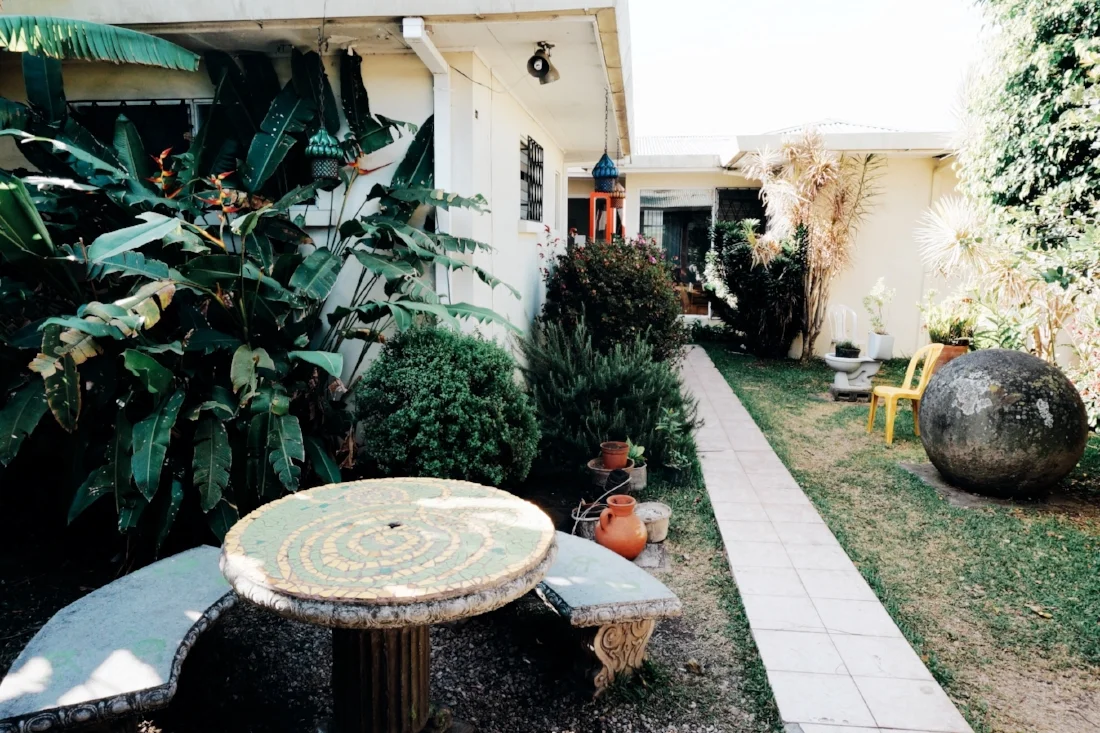


We stayed in hostels throughout our trip, and we didn't book ahead for any of them except for Hostel Bueko in San Jose. Bueko is an awesome place a little way out of the city center. The key to finding a good hostel are reviews, reviews, reviews. But honestly in Costa Rica you just need a safe place you can lock up during the day while you are out exploring! When I return with more people in town I will probably opt for an airbnb


What to Do


Monteverde
Arenal Volcano & La Fortuna
Ziplining over the rainforest canopy
Hiking & butterfly watching
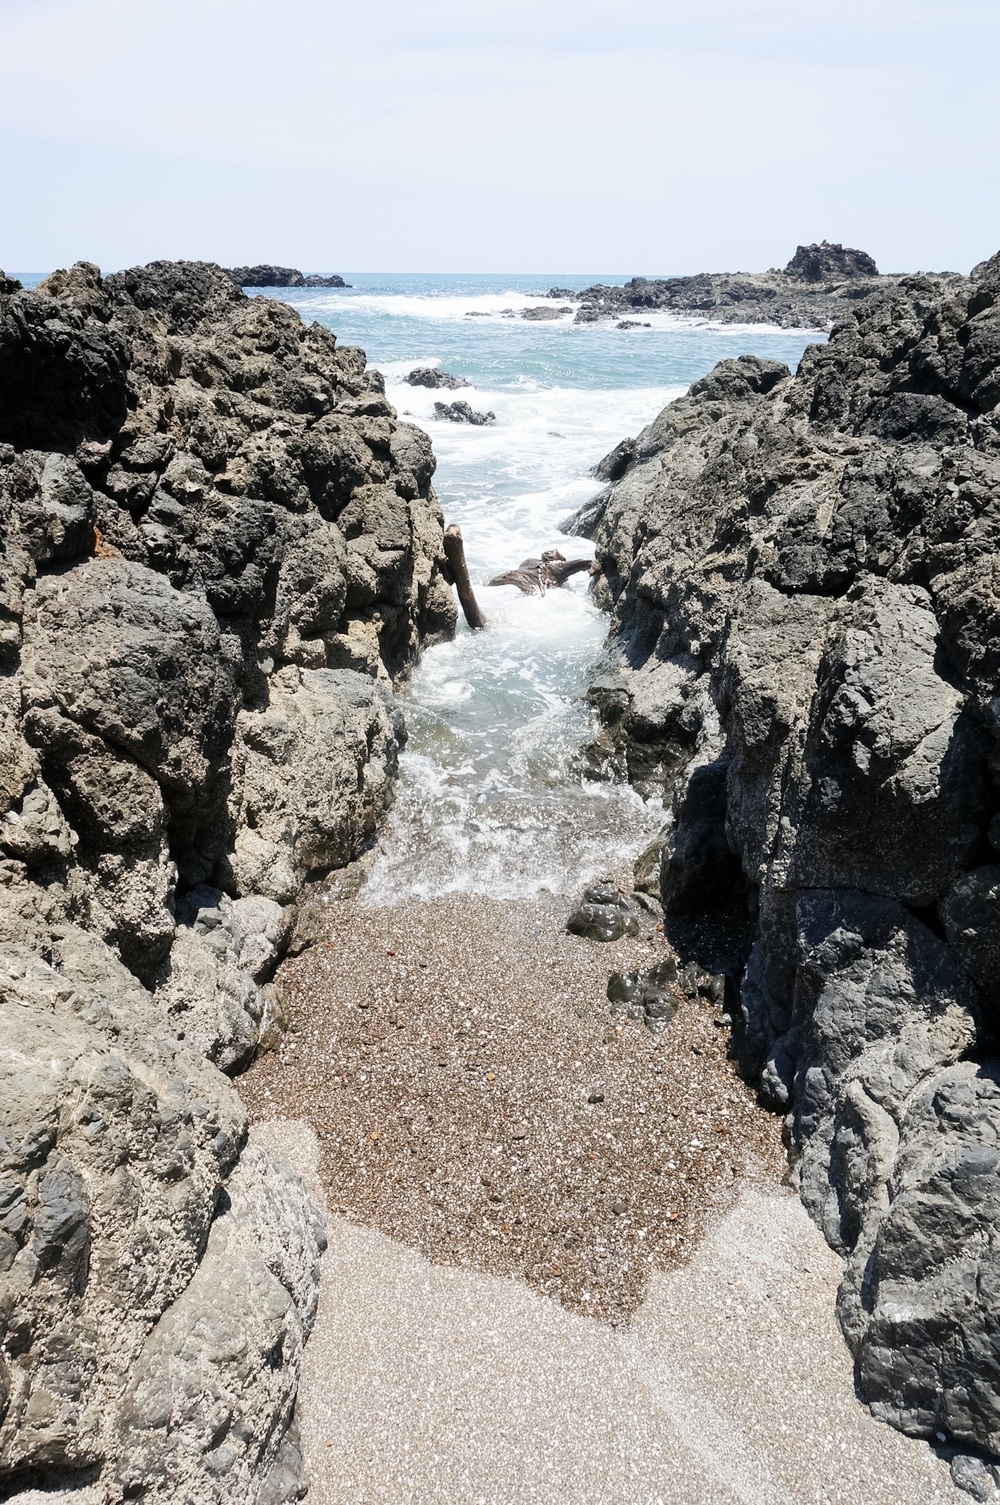
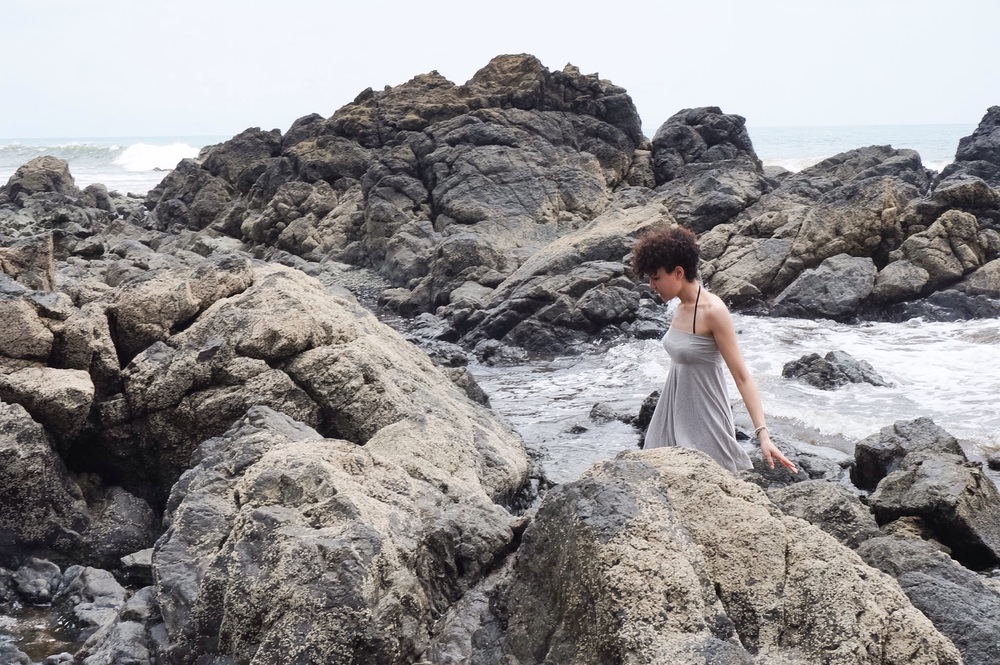
Puerto Viejo
Playa Negra
Punta Uva & Punta Cocoles
Surfing
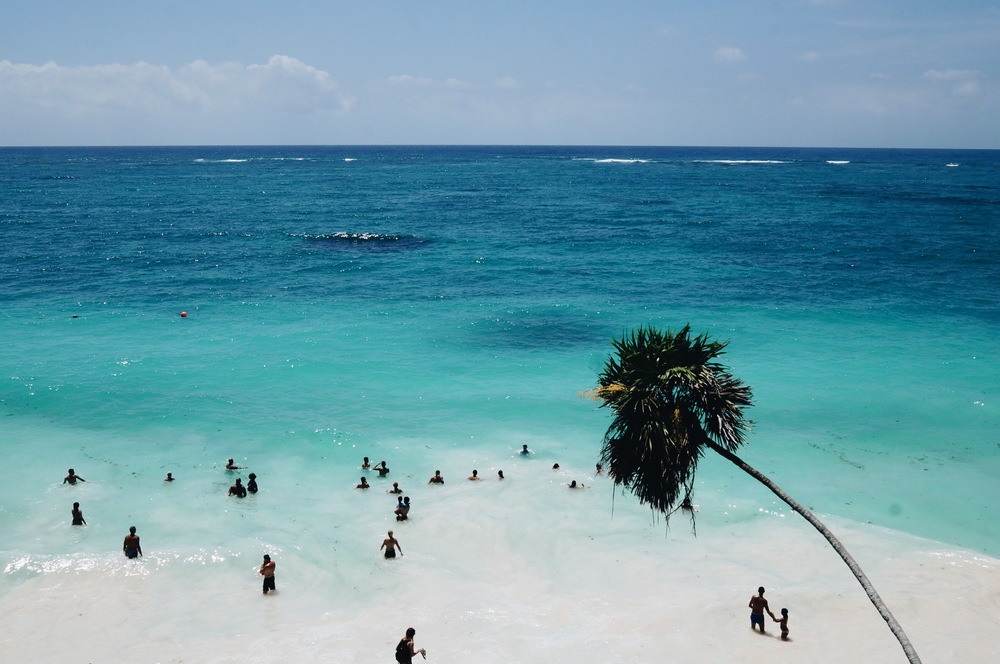
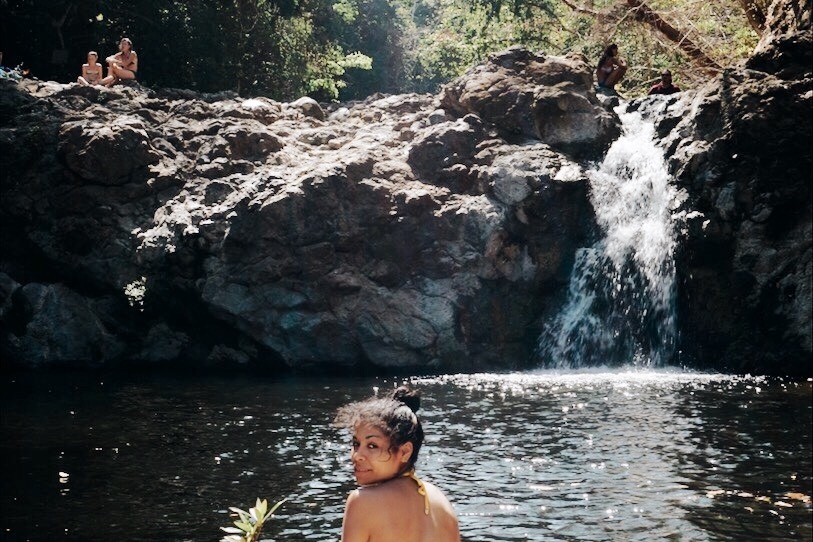
Montezuma
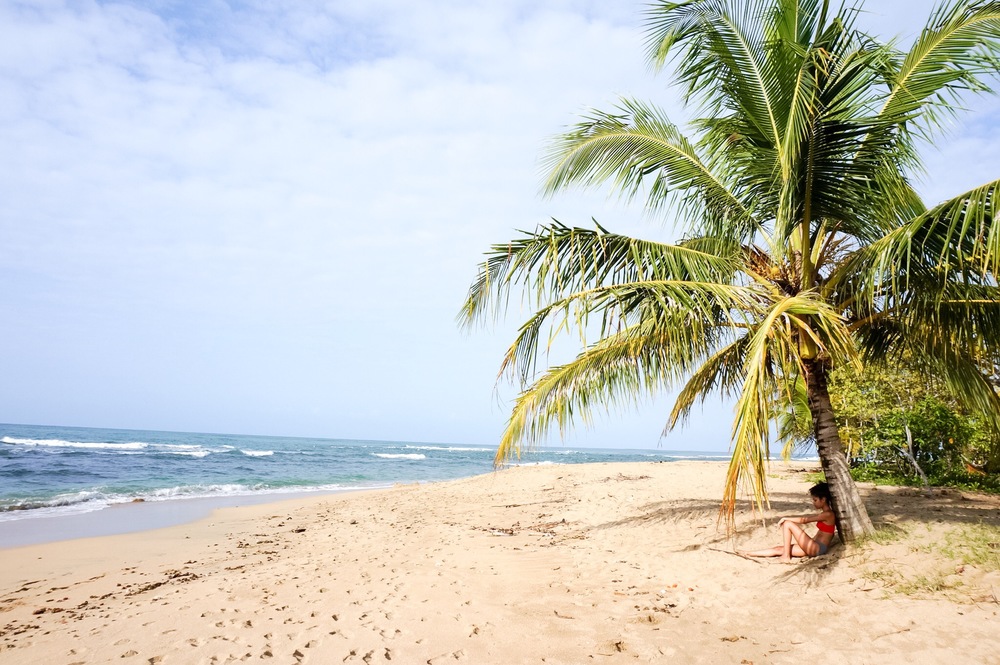
Montezuma Beach
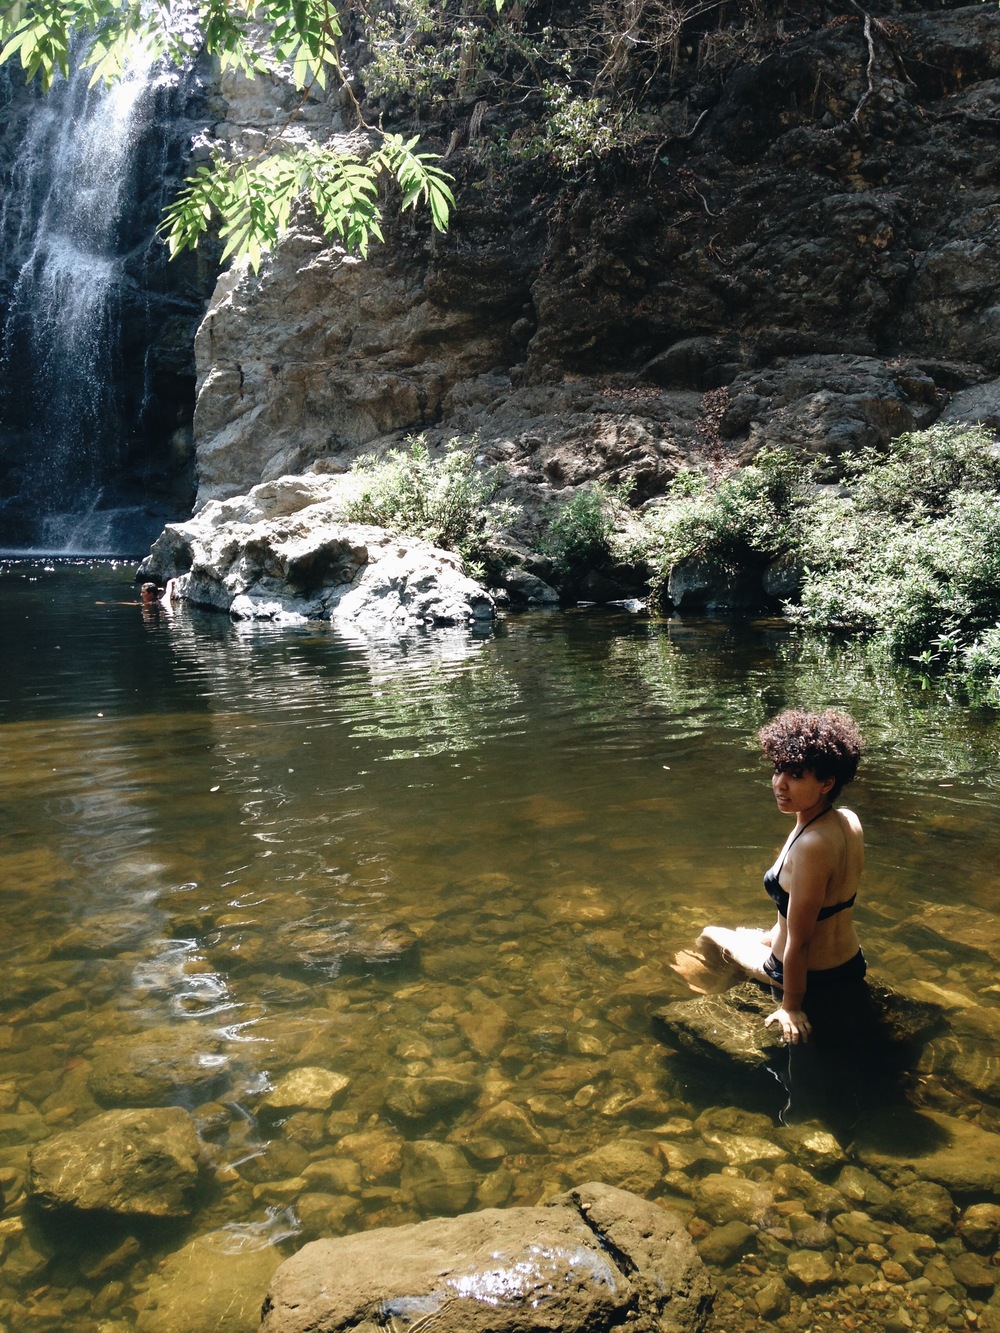
Montezuma Waterfalls
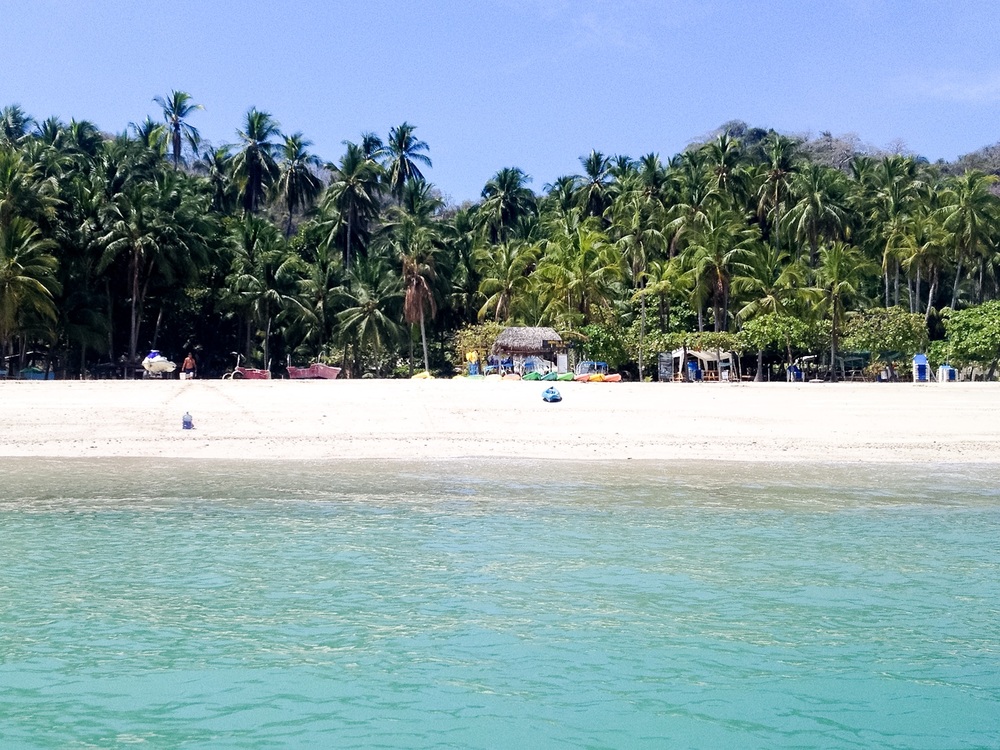
Tortuga Island & Snorkeling

Where to Eat


In Montezuma we managed to eat at Bar Restaurante Moctezuma not once, but twice! Sitting right on the Montezuma Beach the views are undeniably beautiful and they offer all 3 meals a day.
Tree House Restaurant & Cafe is literally a restaurant in a tree! It's a little touristy but has awesome ambiance. And if you are in the area you must go to Taco Taco, we ate there at least three times in the couple of days we were there.
There are many great restaurants in Puerto Viejo's town center, but if you are looking for a fun and more upscale meal try KOKi Beach Restaurant & Bar. The cocktail menu was great and the ambiance colorful and totally beach chic.
Other Things to Know
You will have to pay an exit tax of about $30 USD at the airport, have some cash ready so you aren't caught of guard. Public buses take longer than private shuttles but they are significantly cheaper and you get to see more of the country than you would with private transport.