Photography

A SoCal Road Trip: Photo Diary

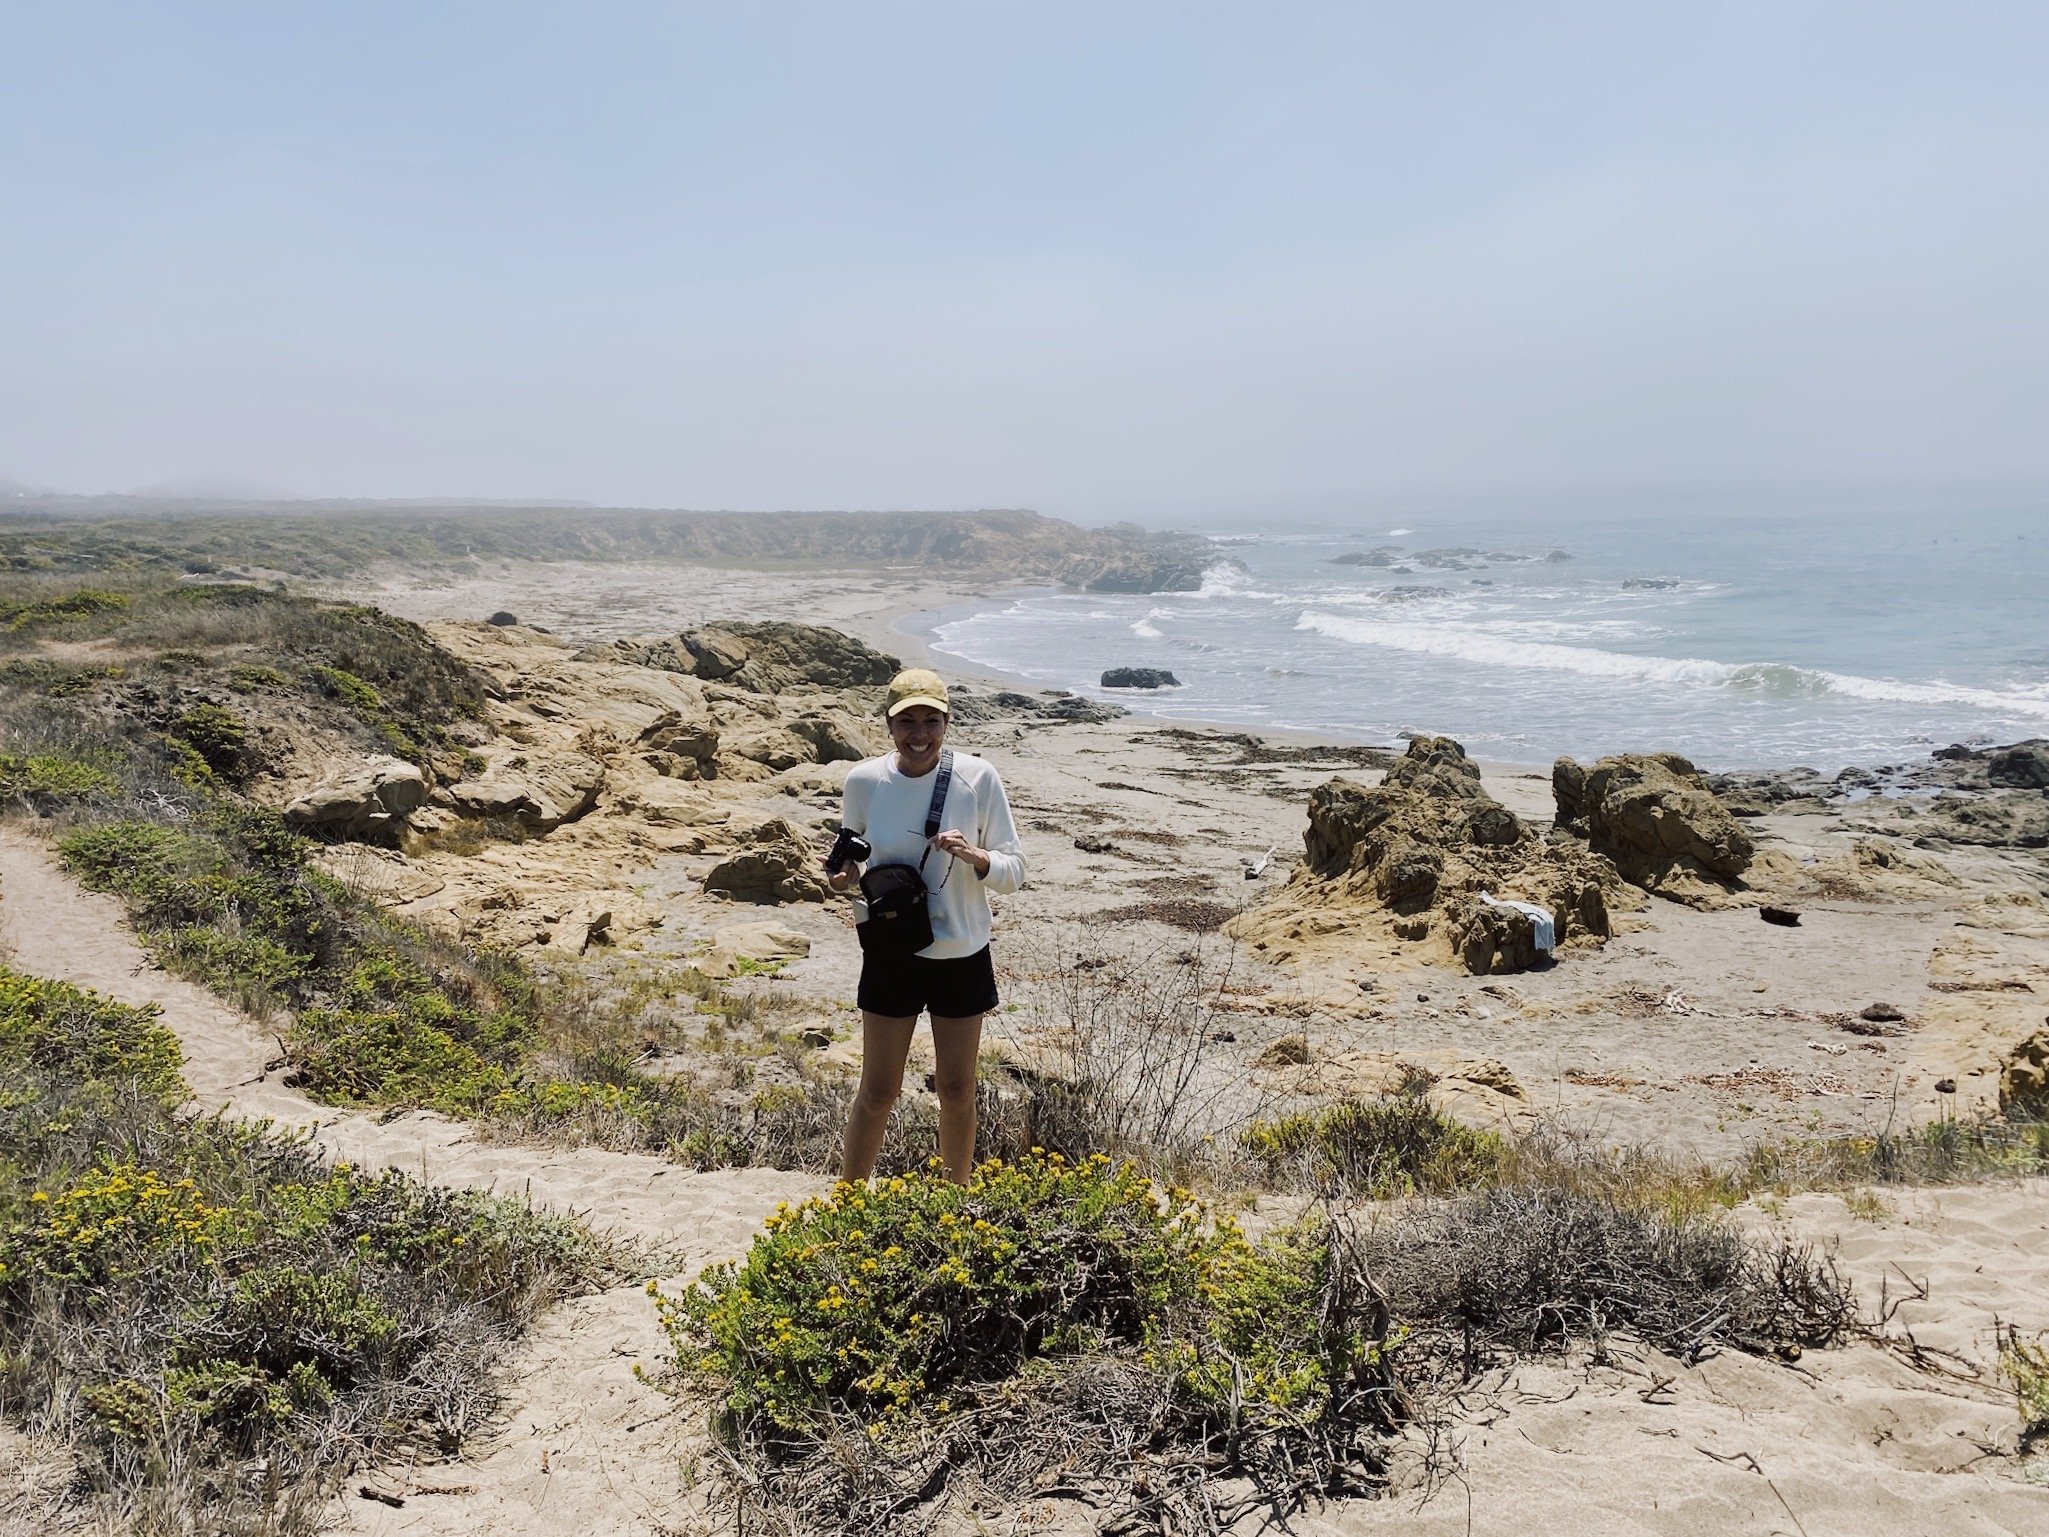
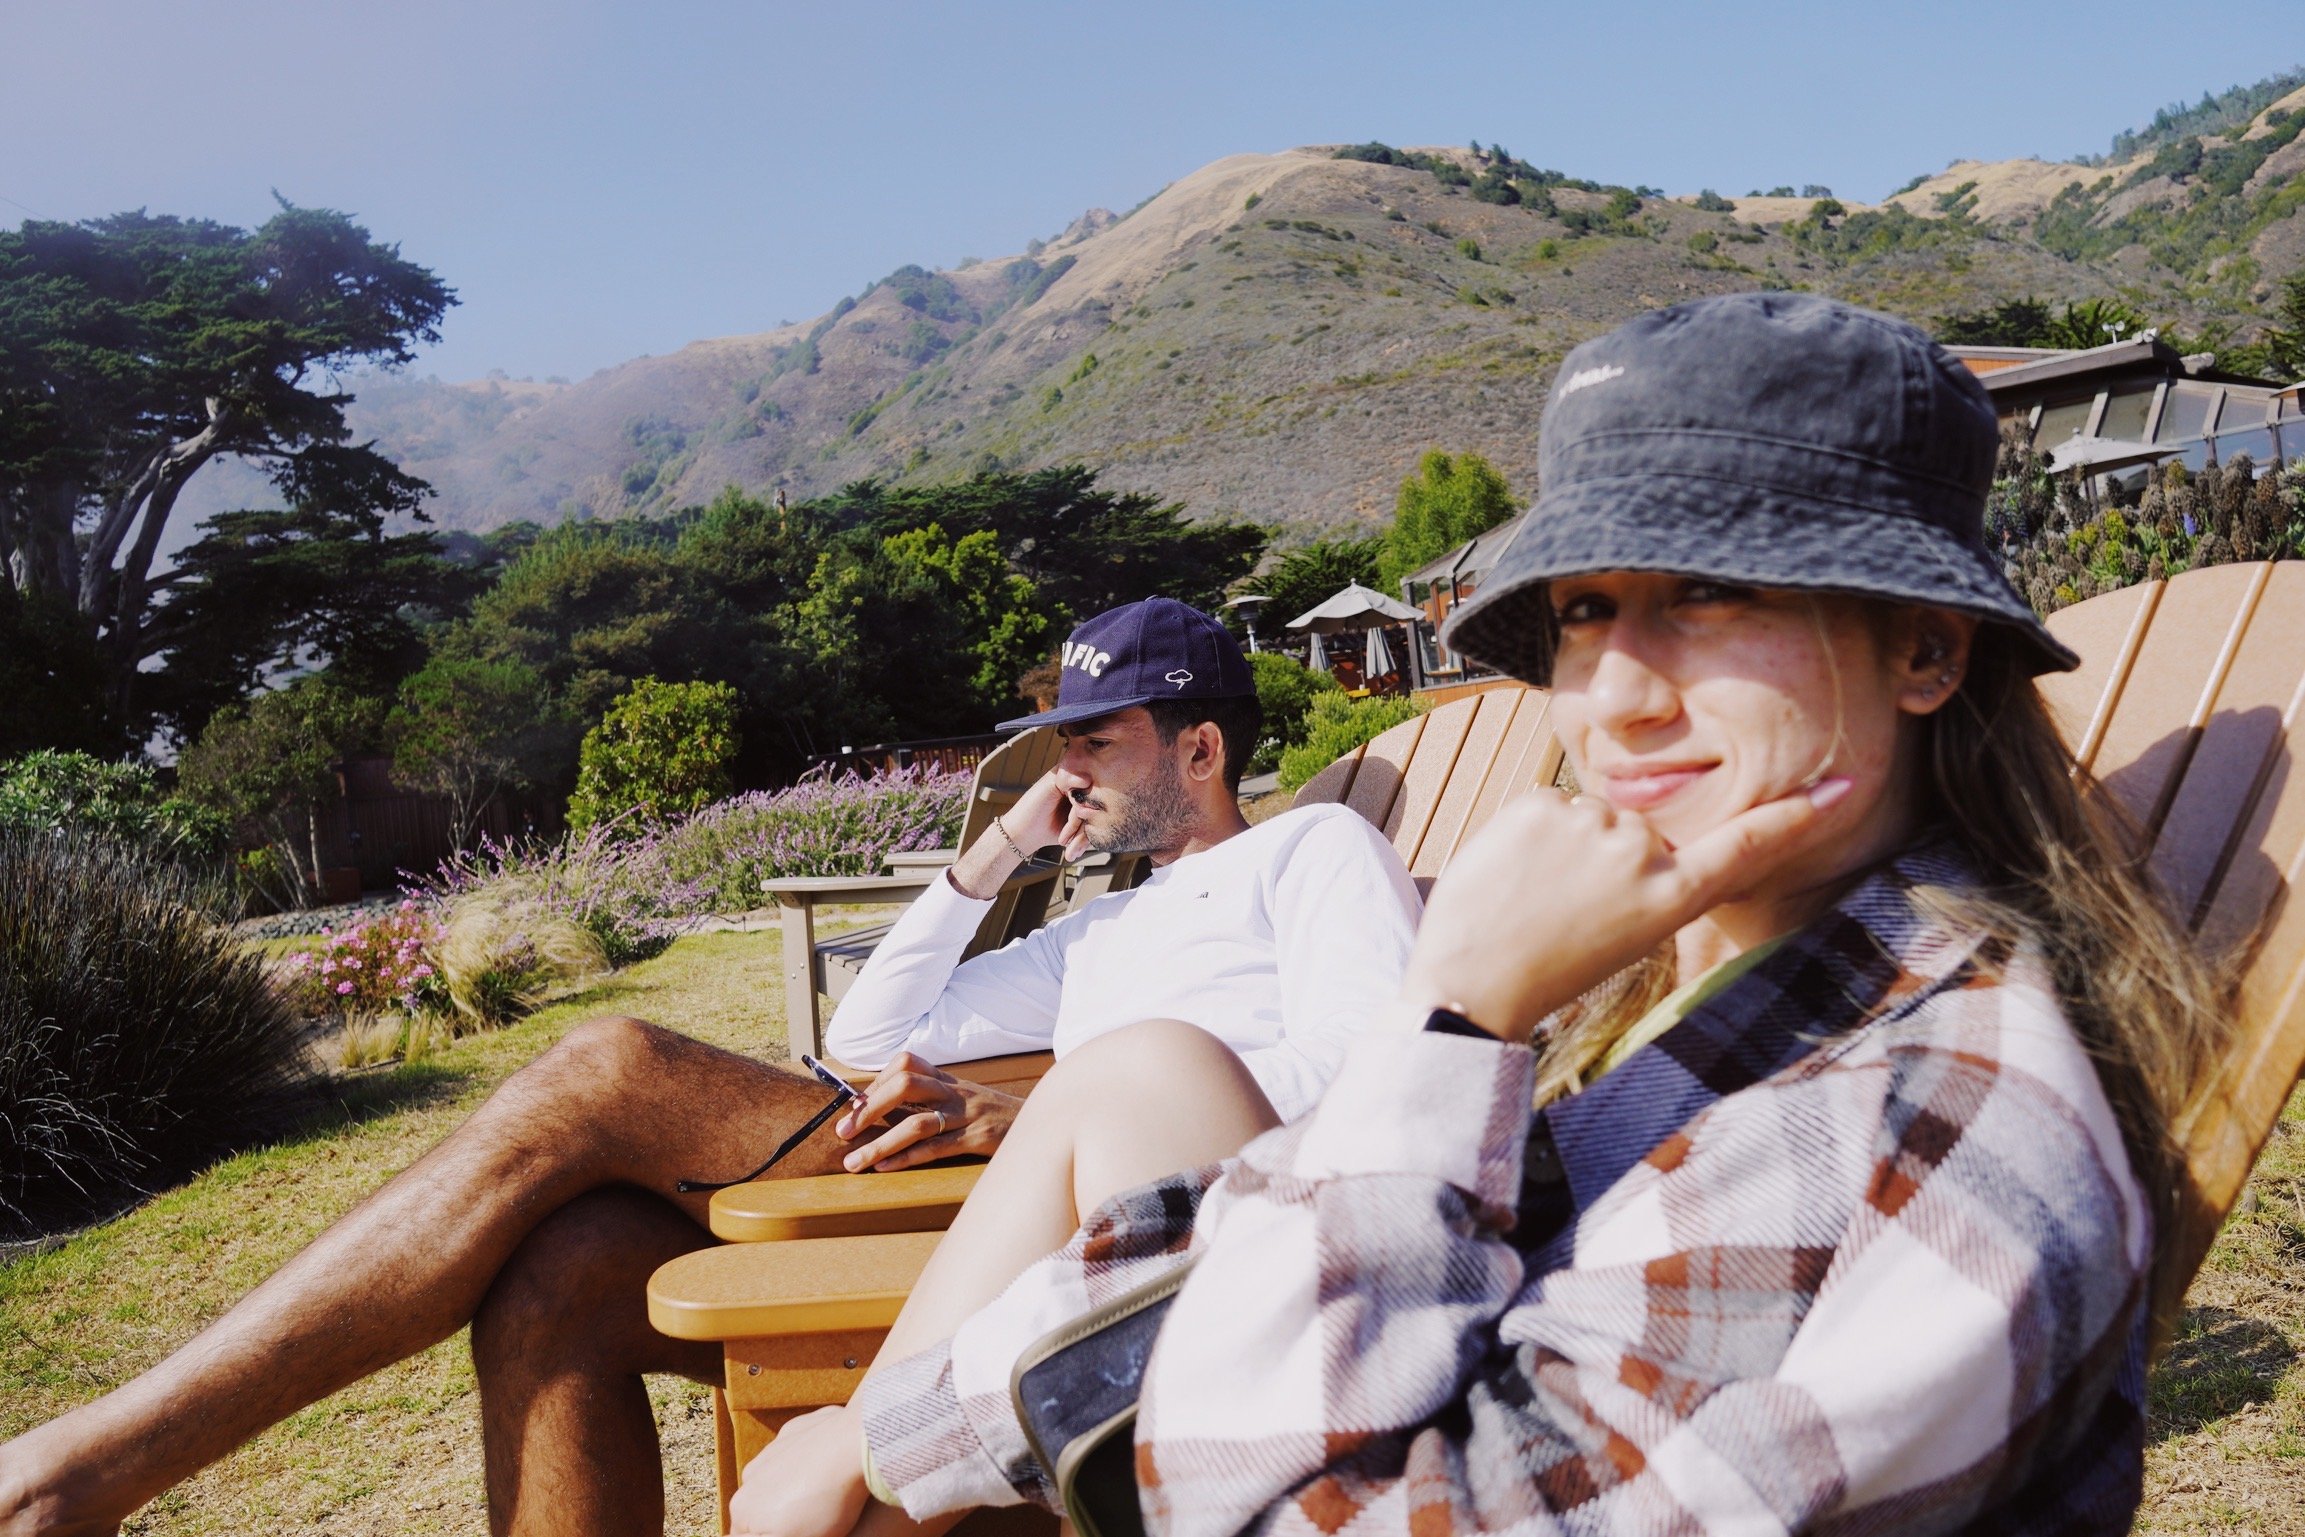
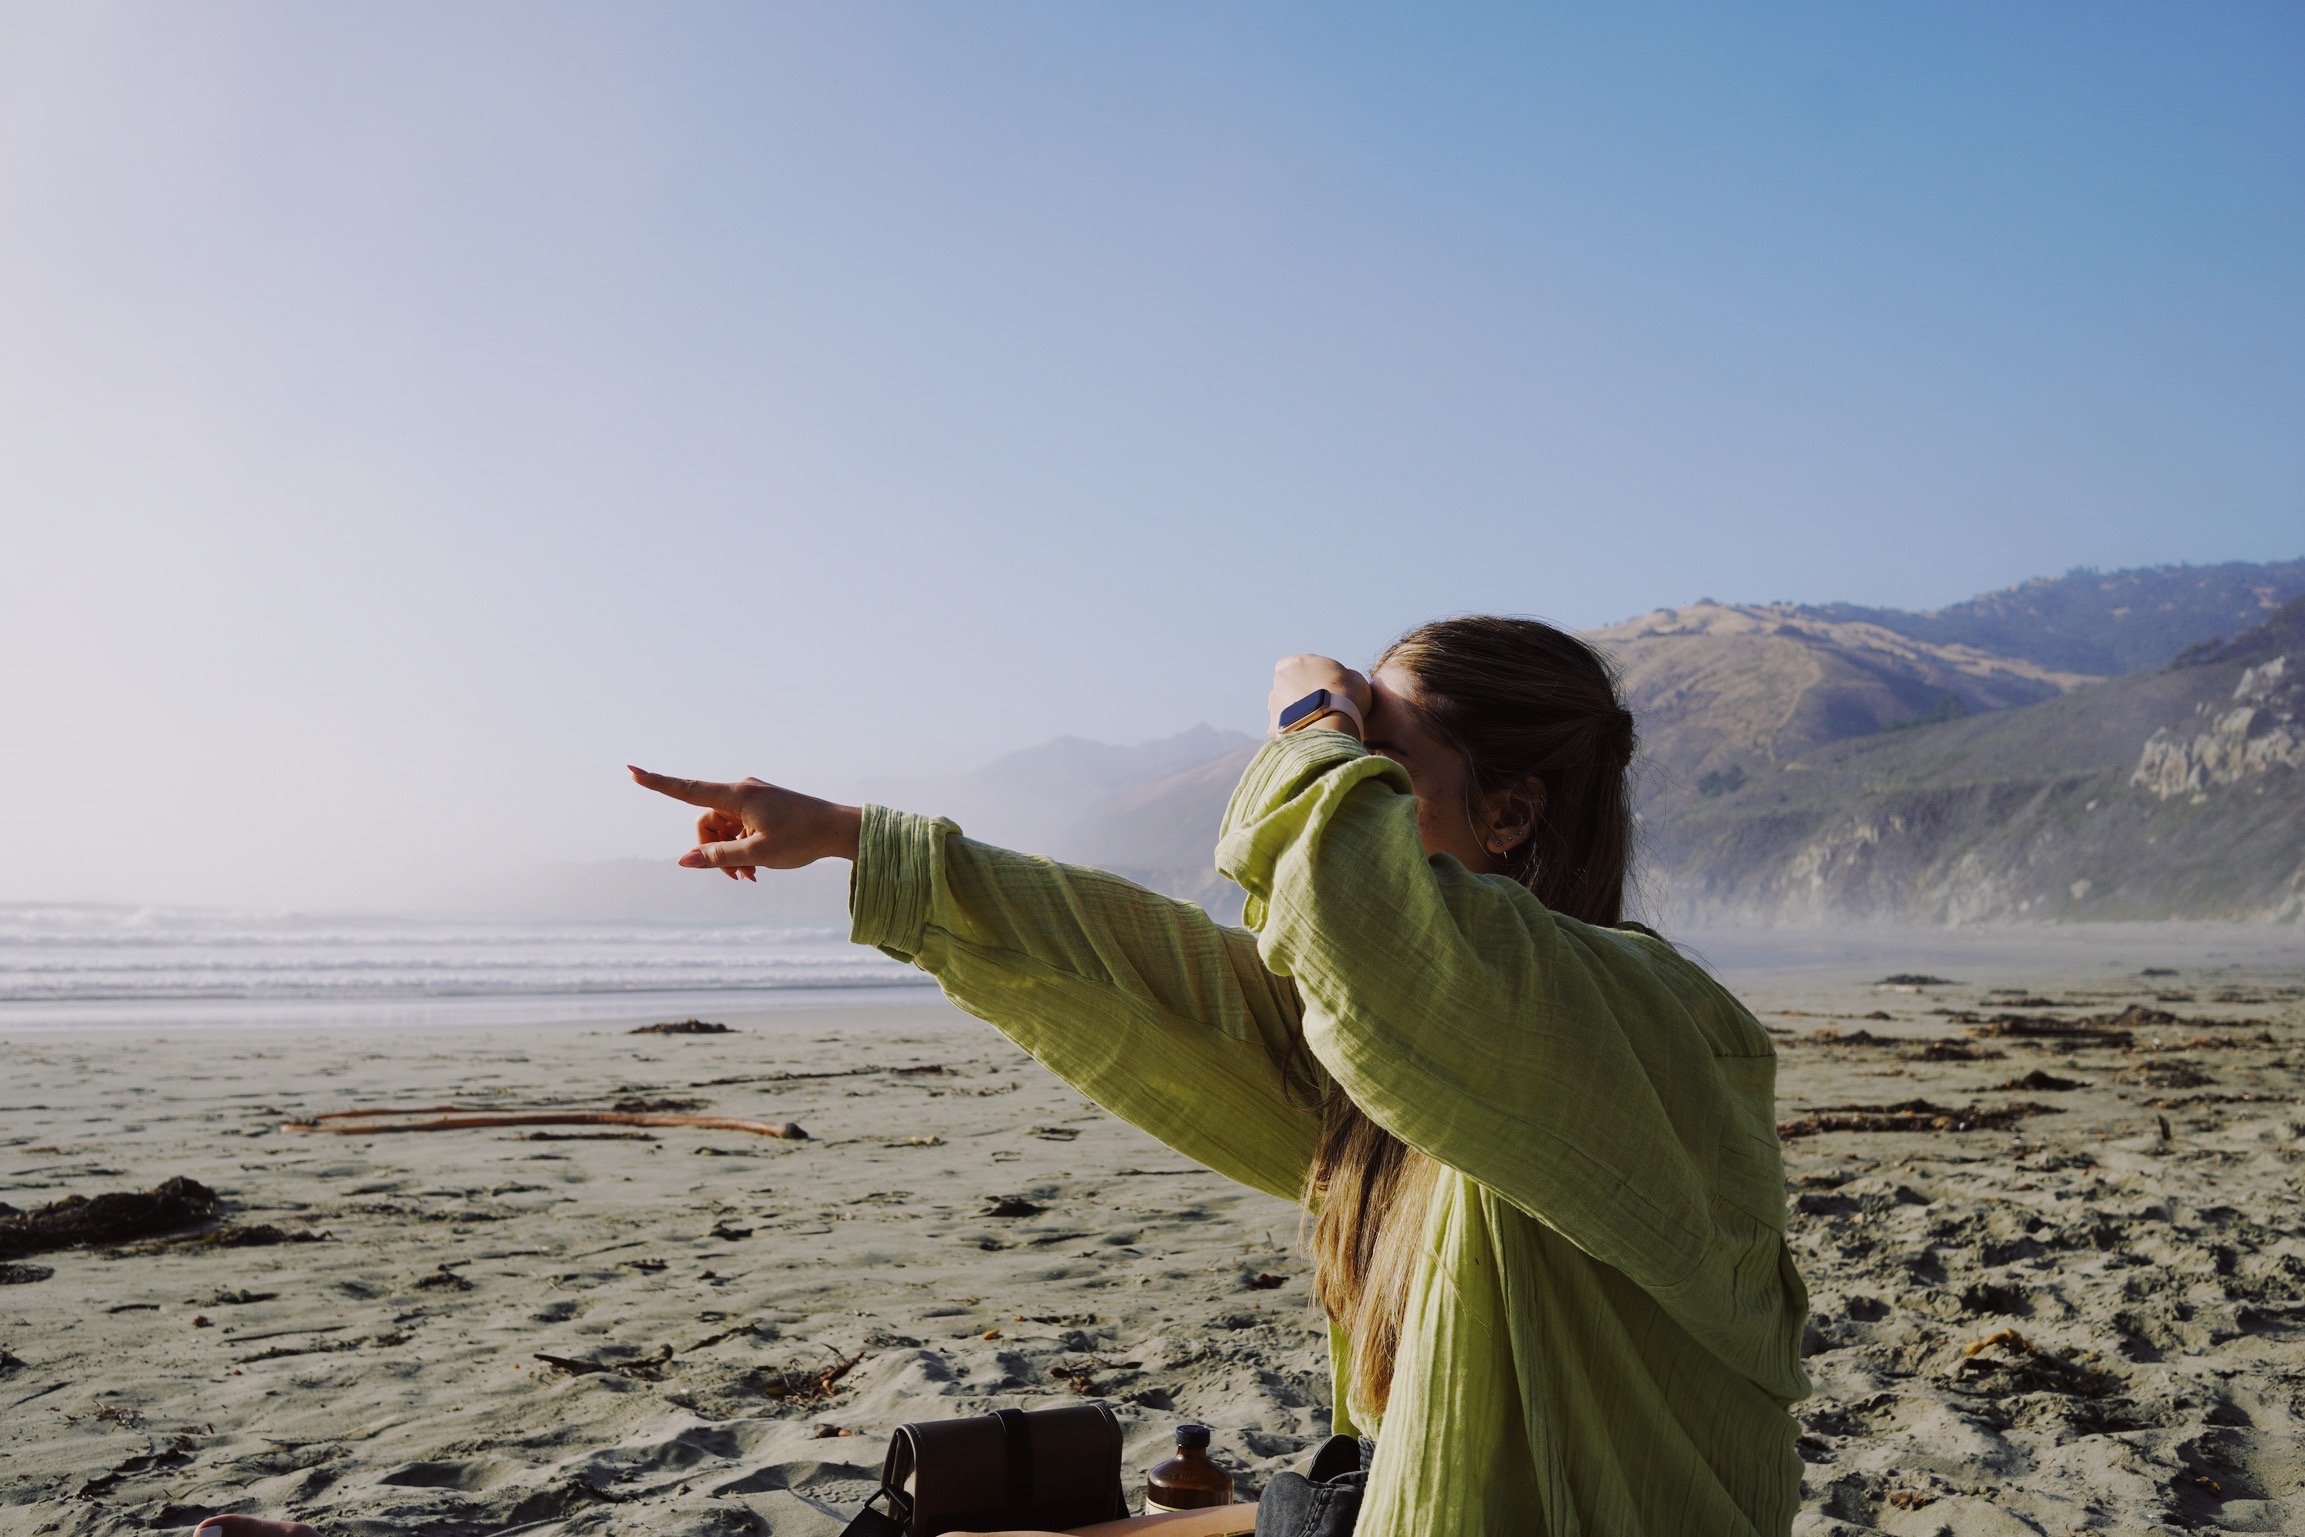
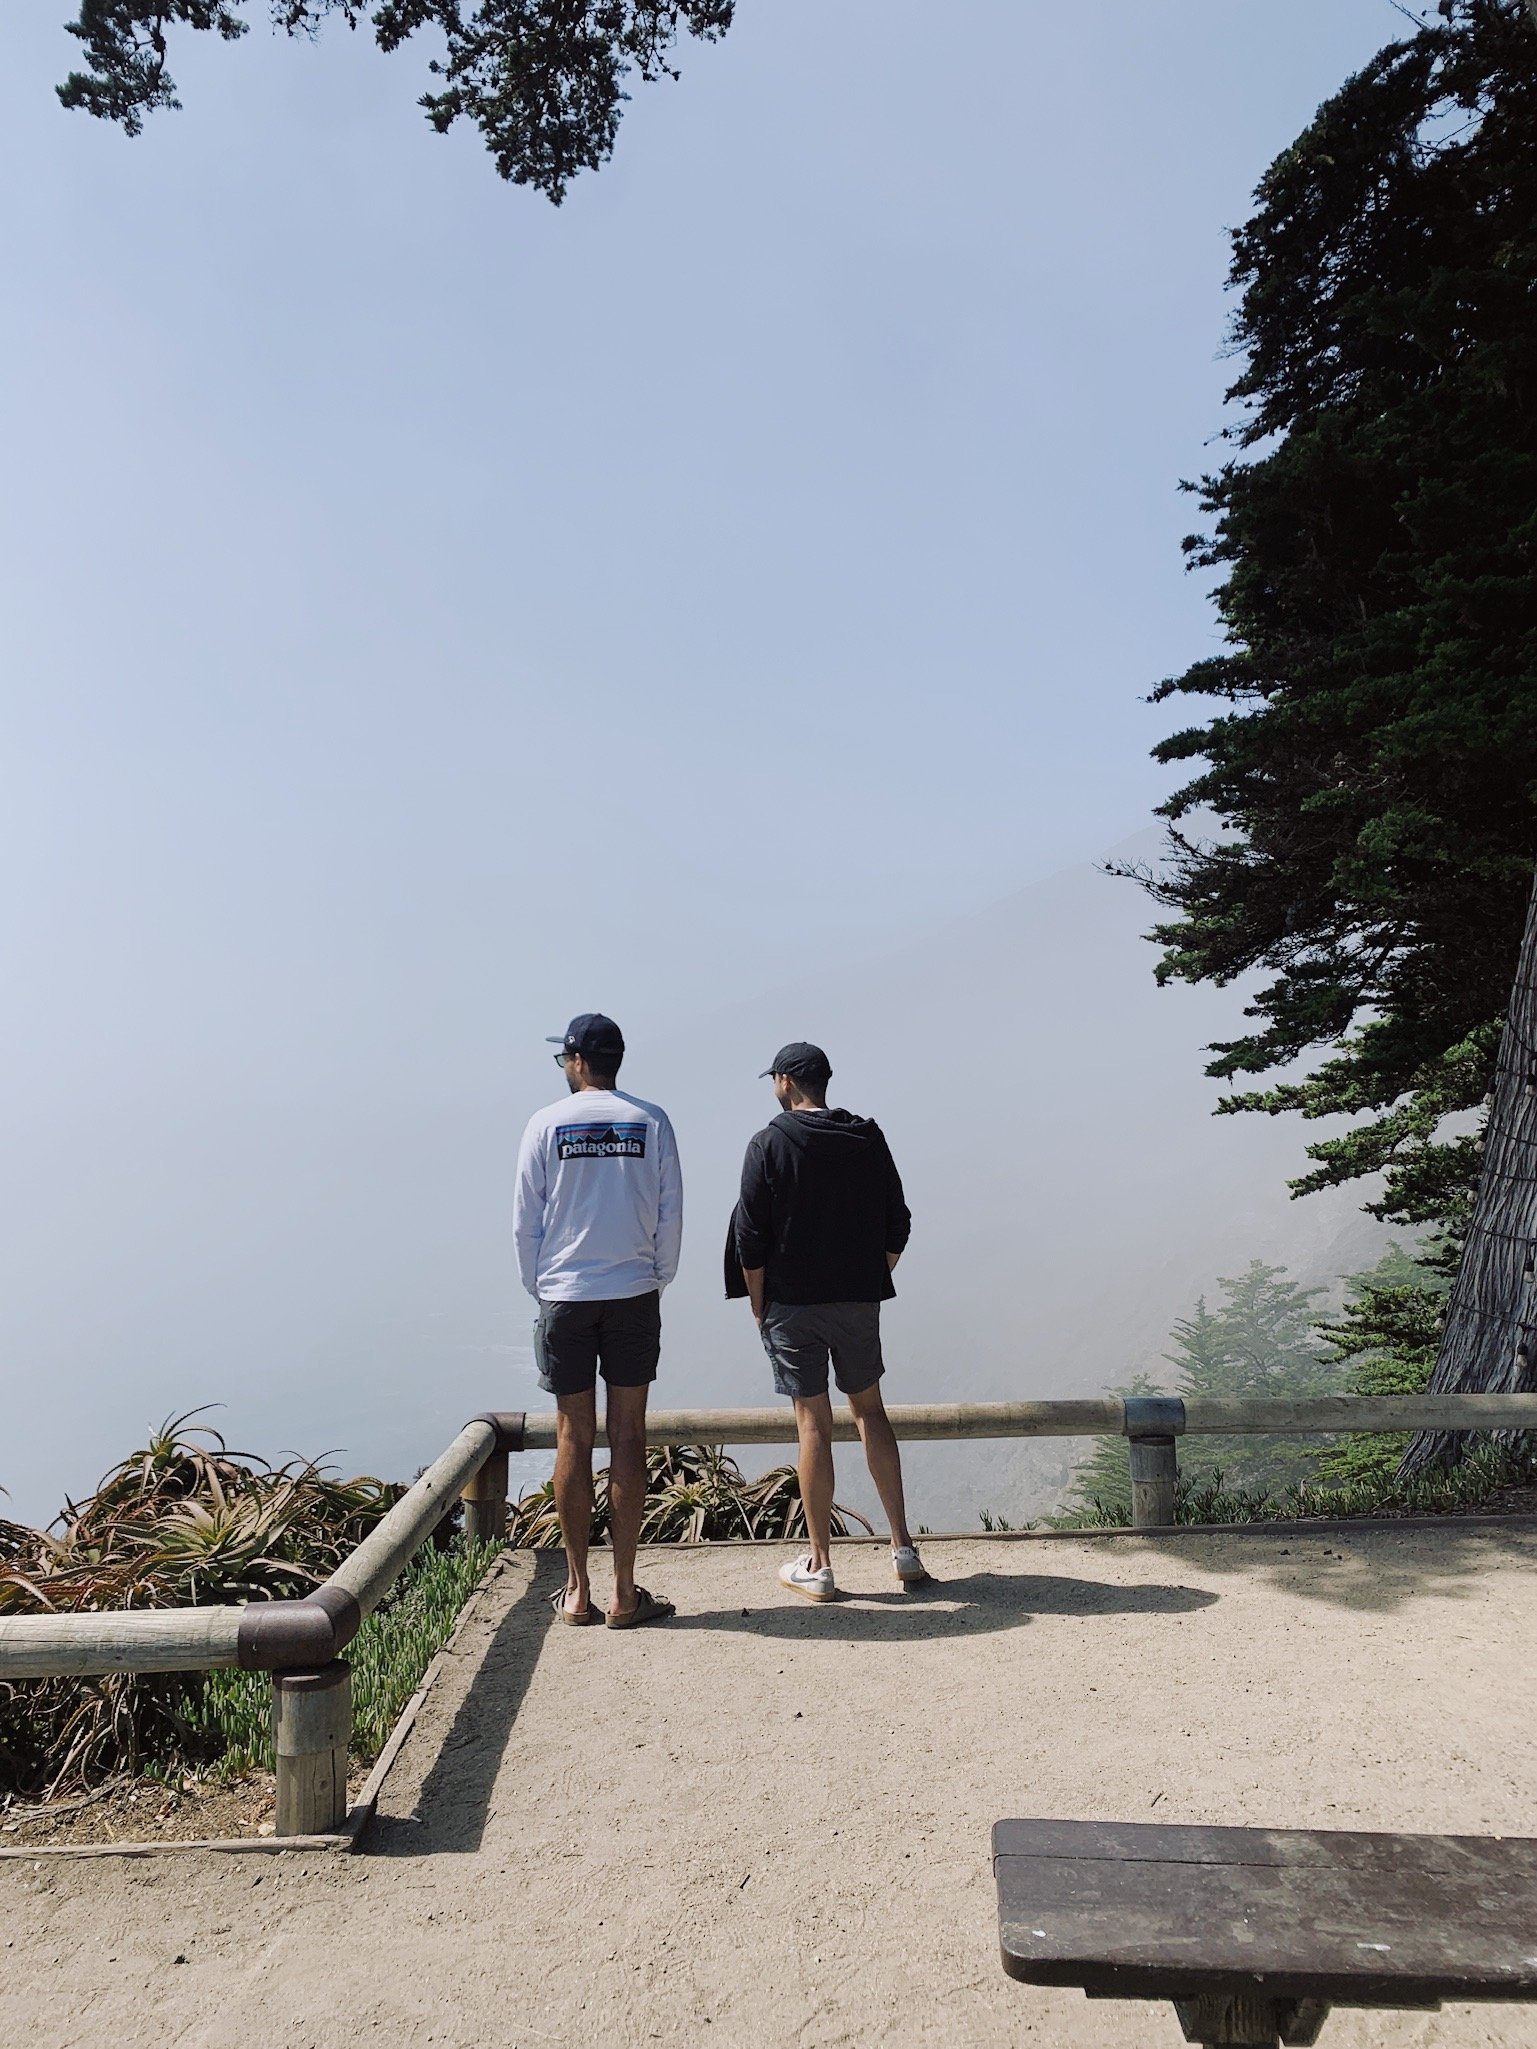
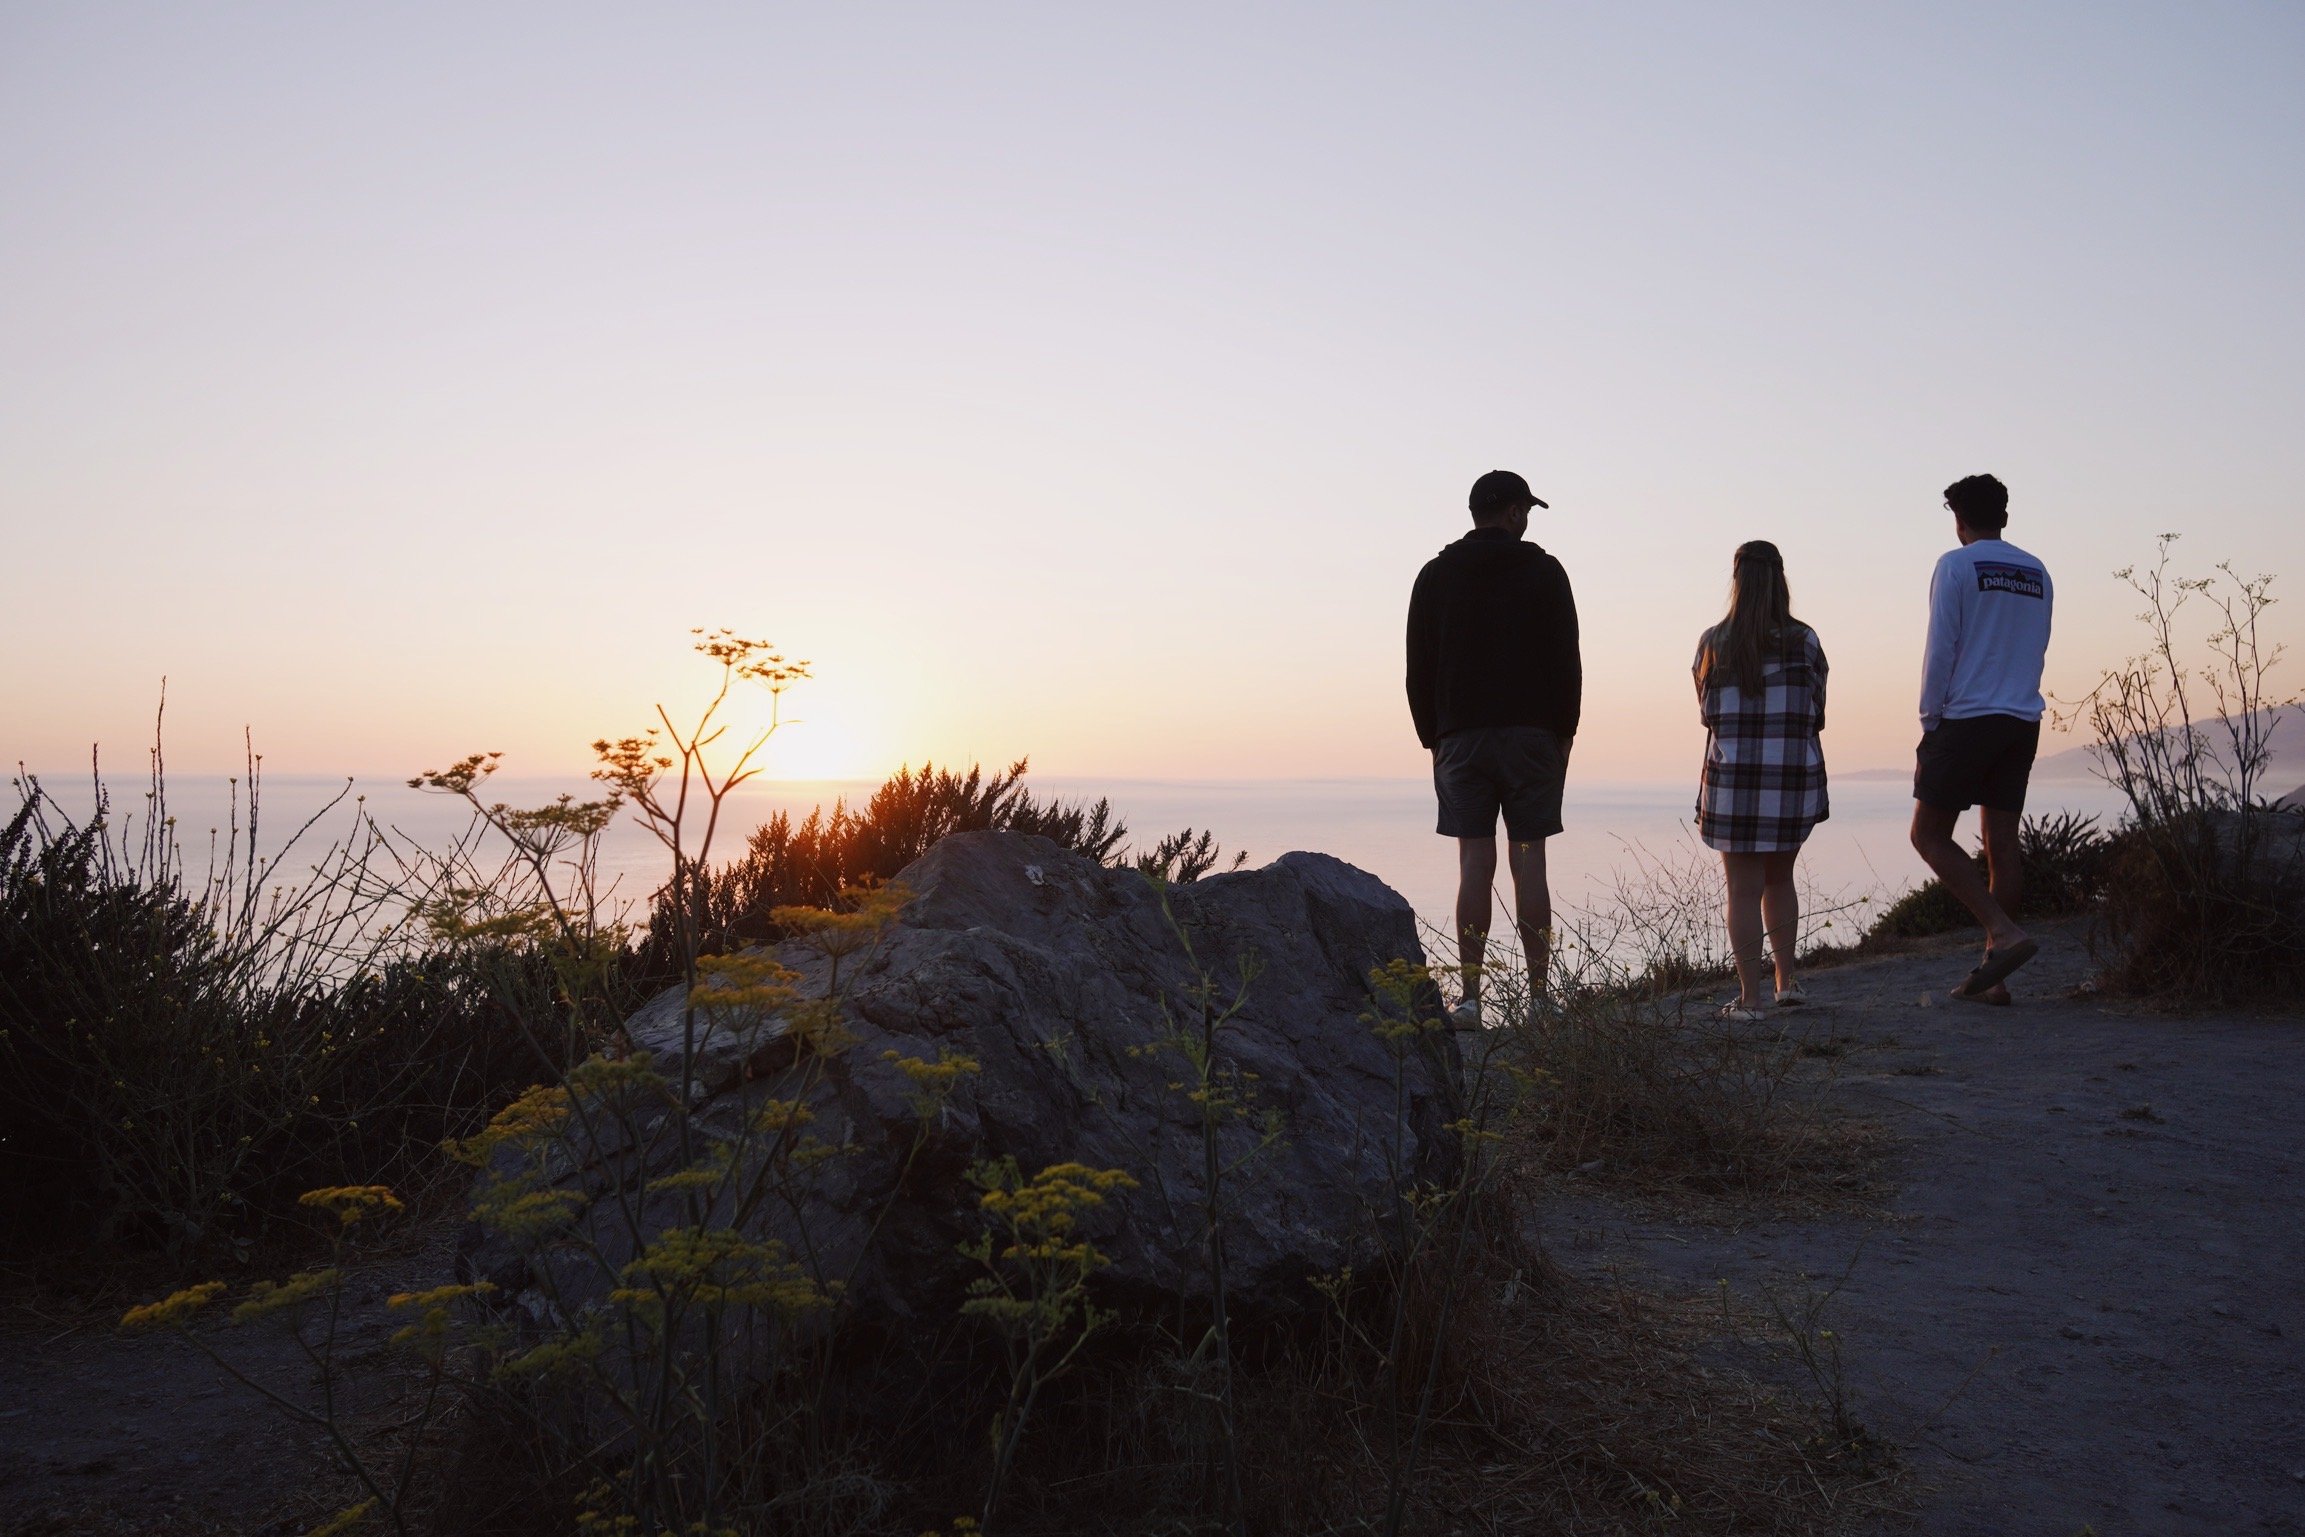
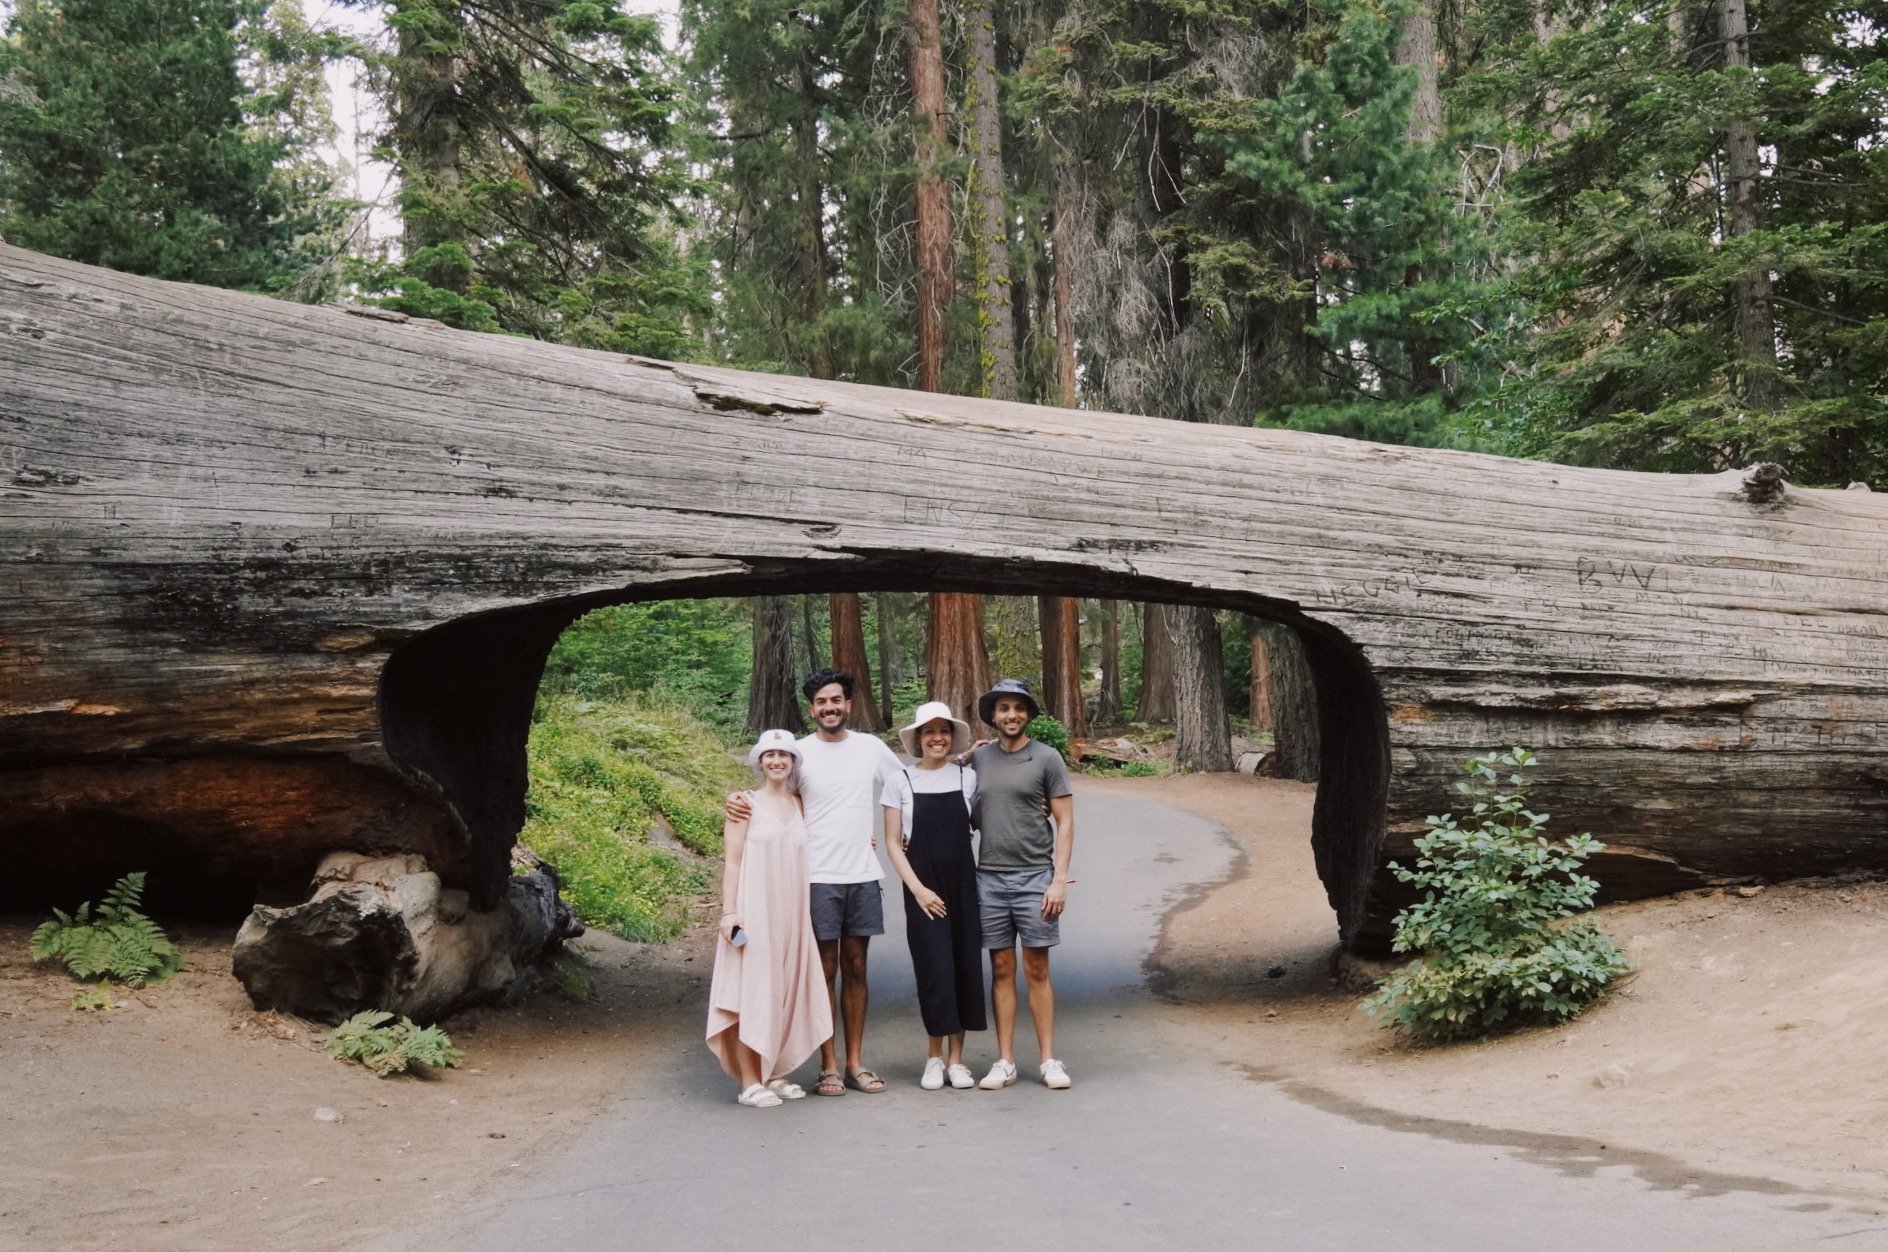
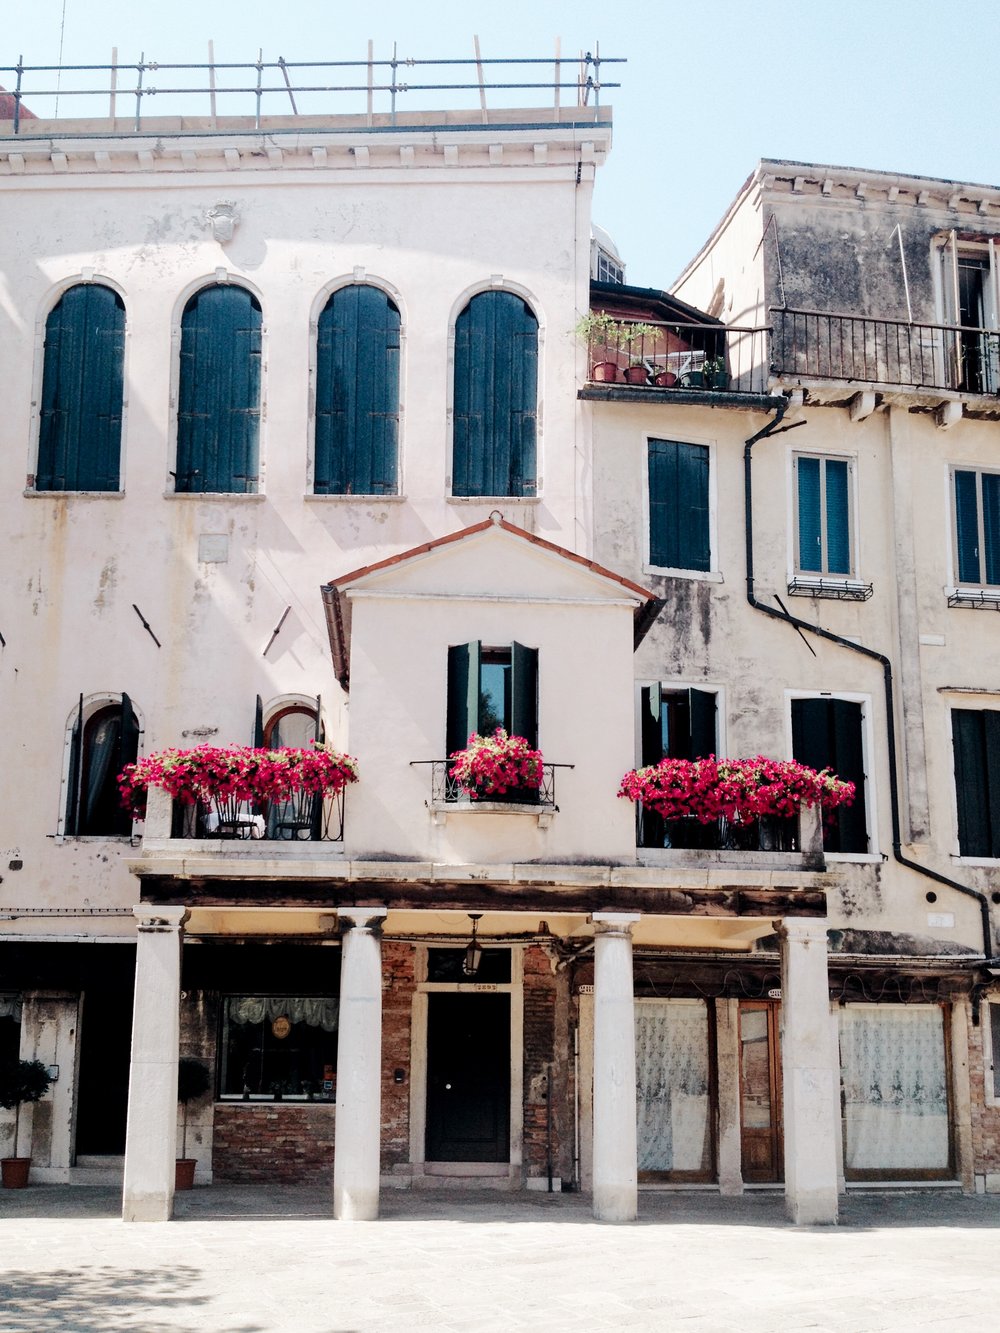
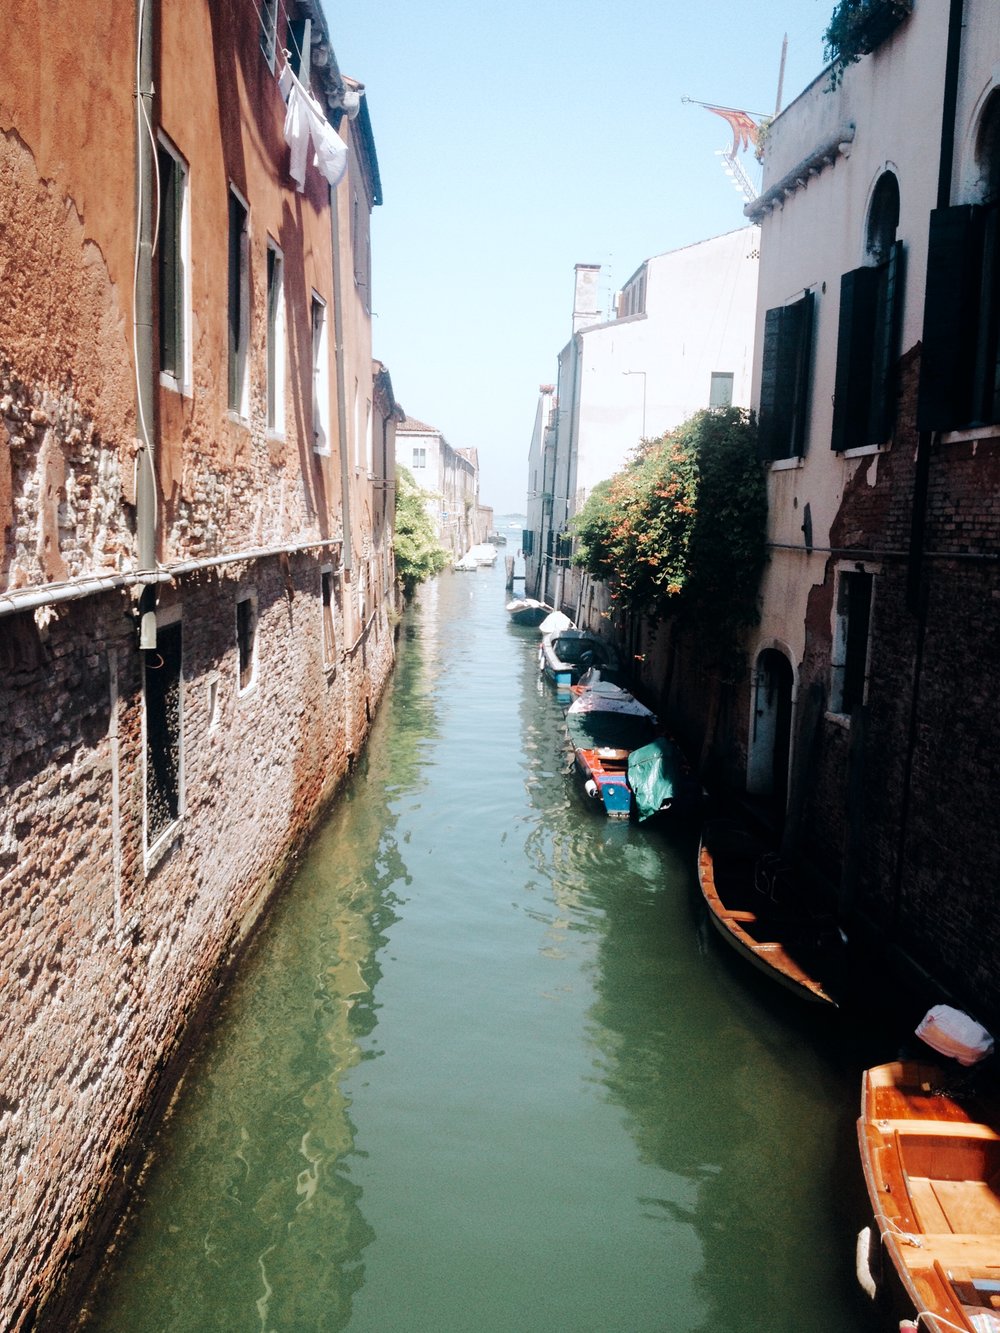
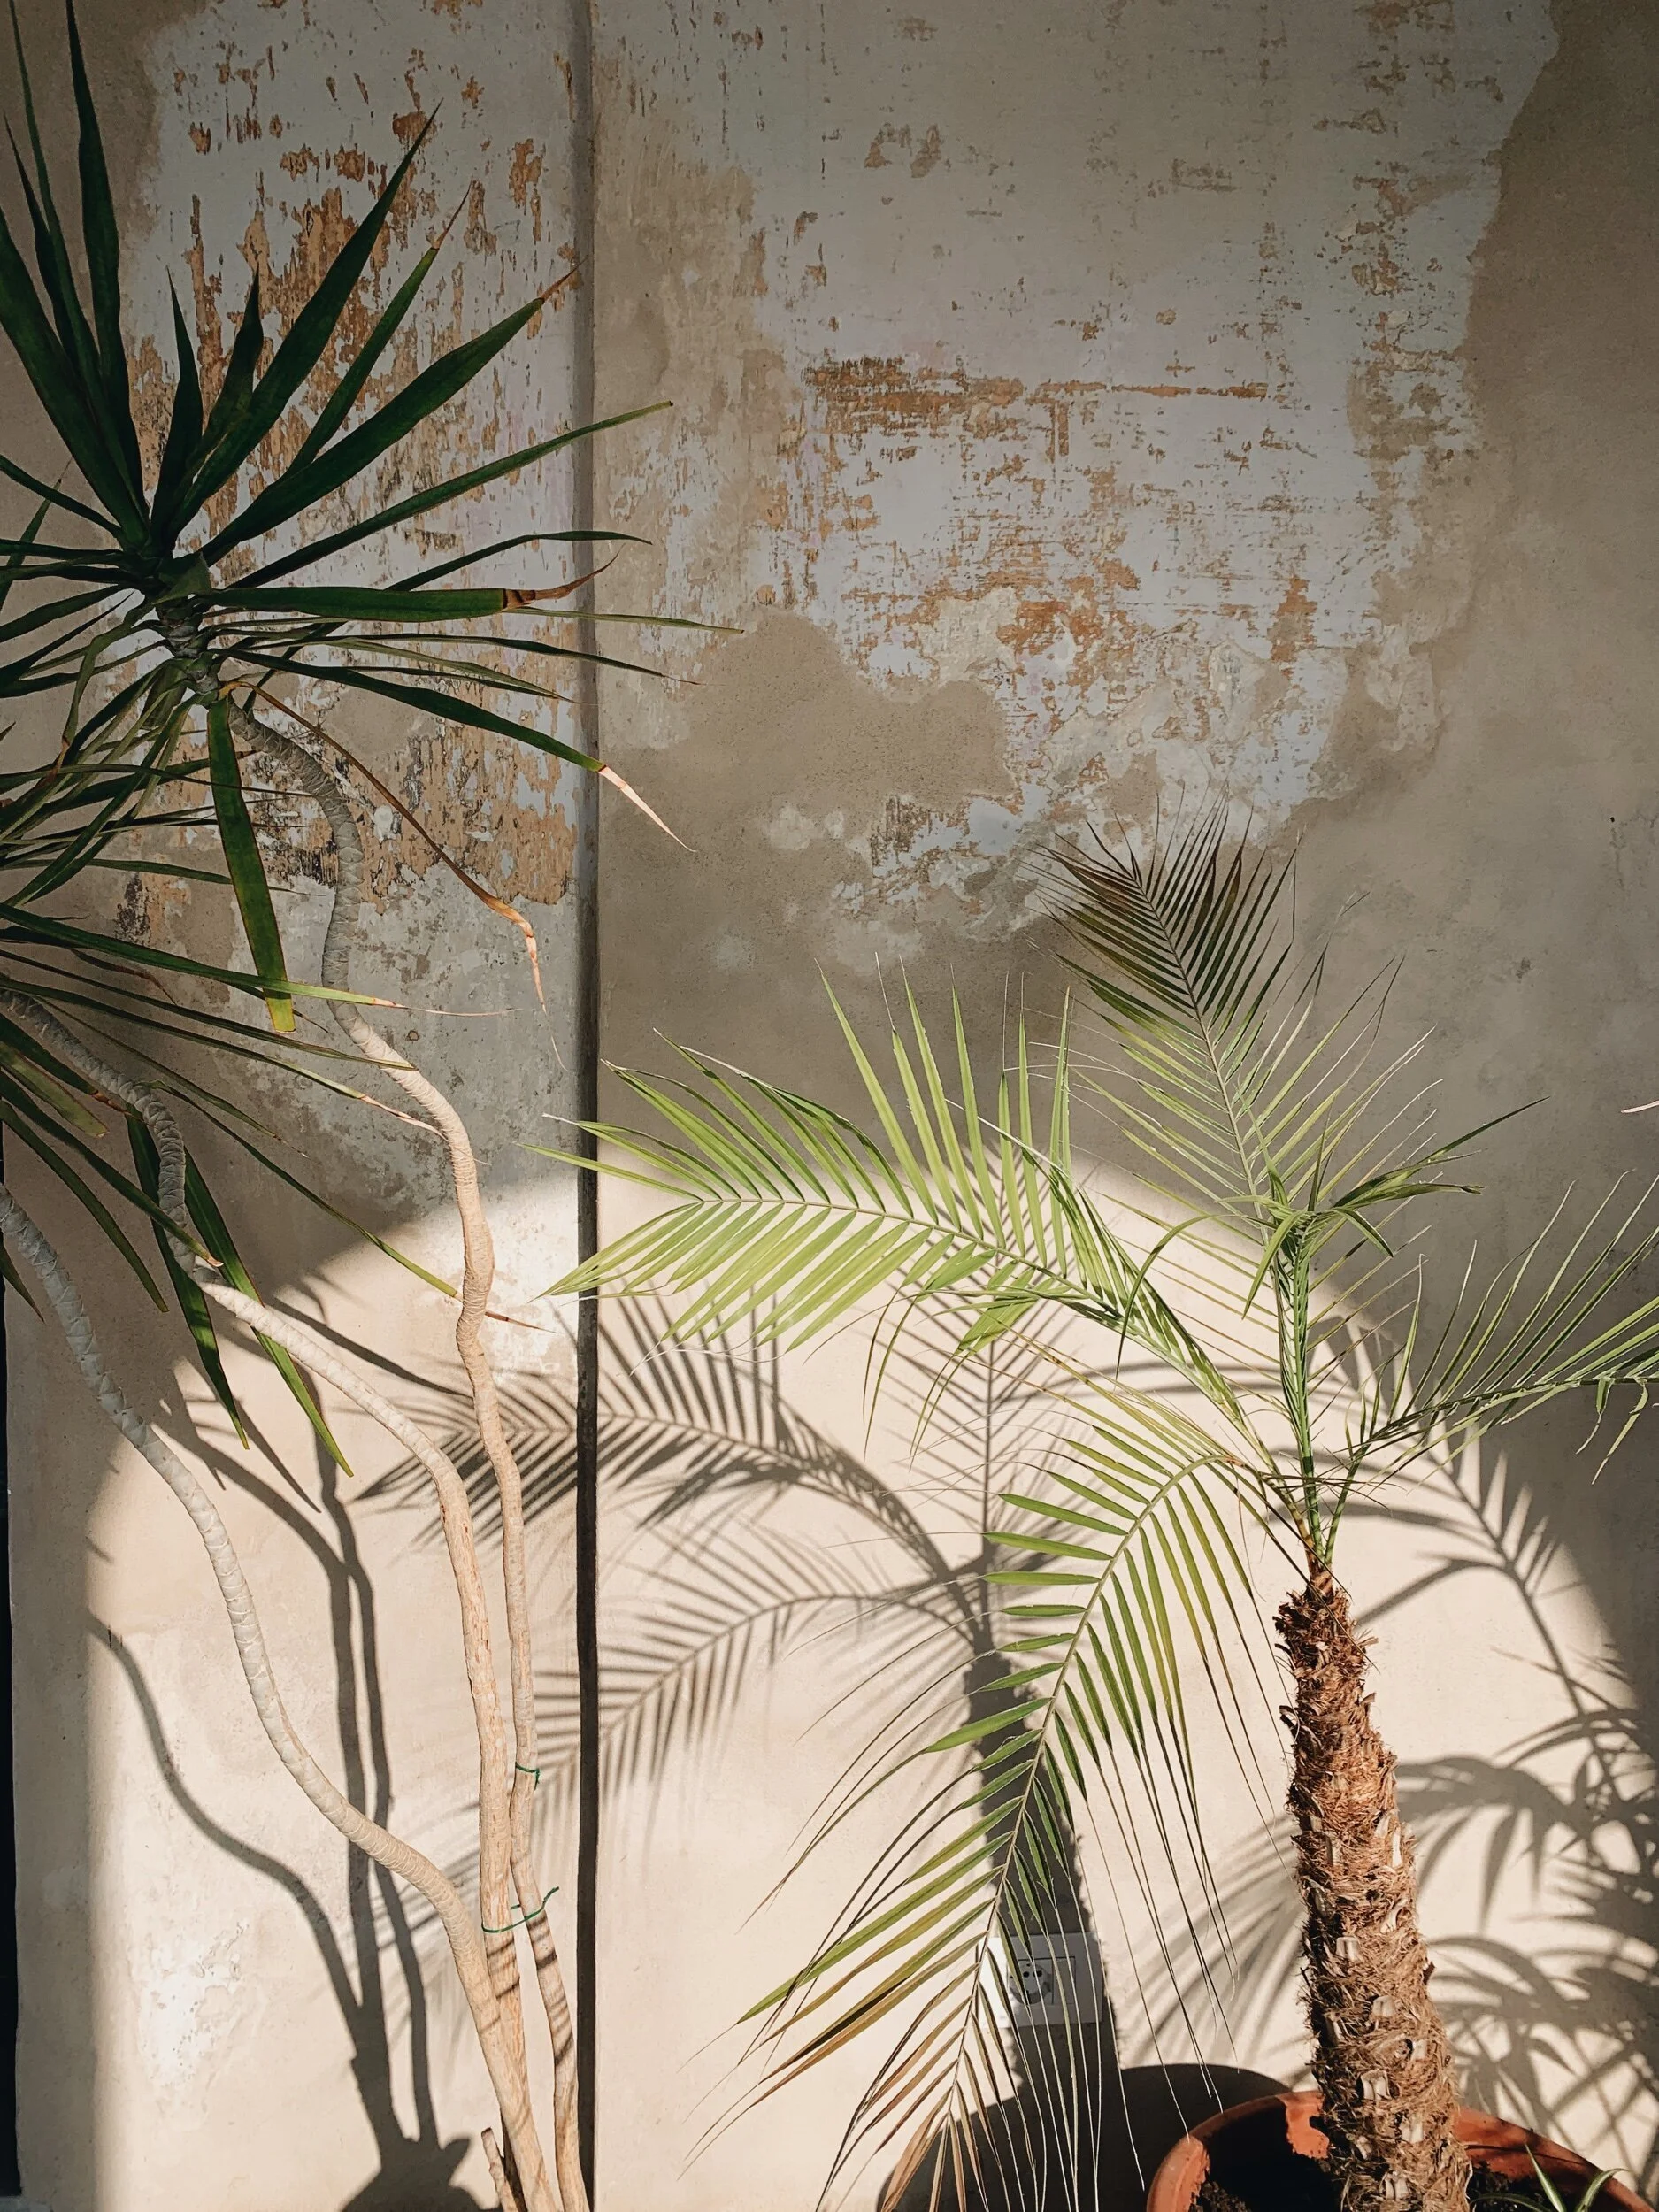
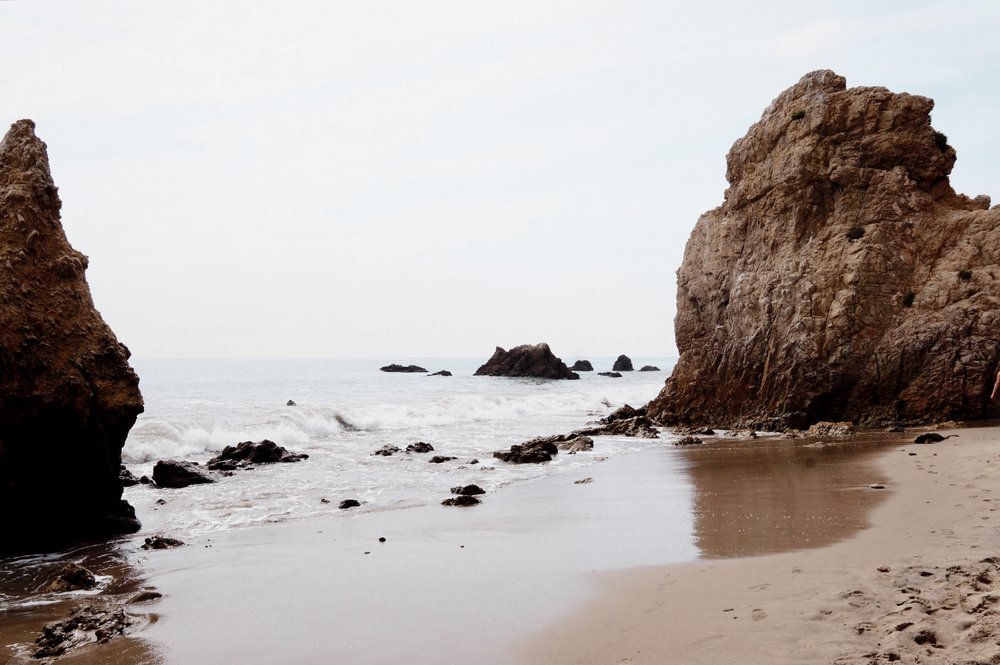
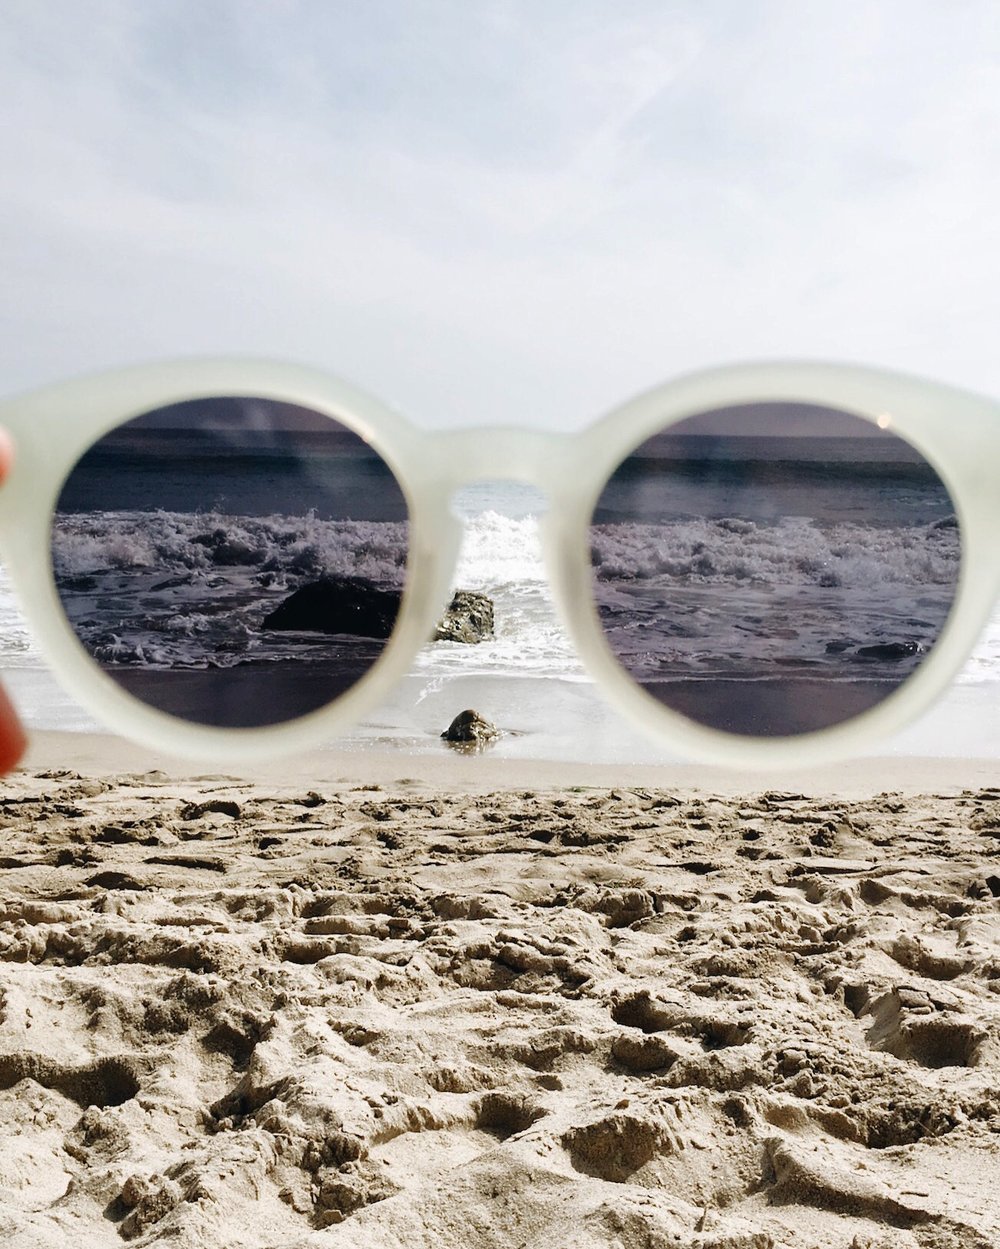
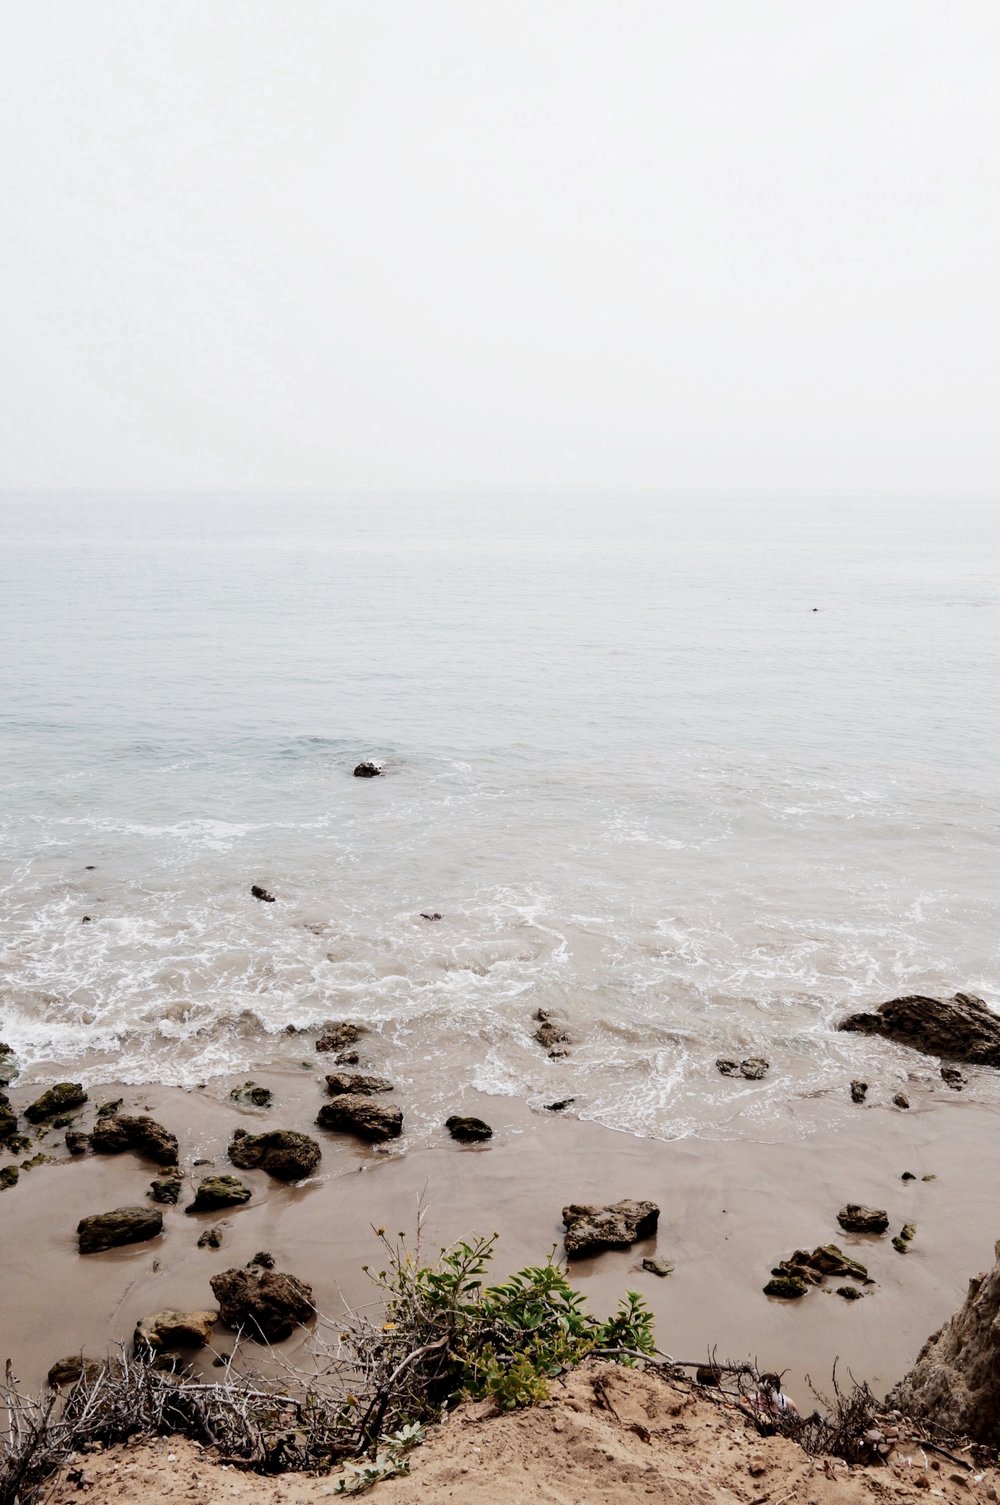
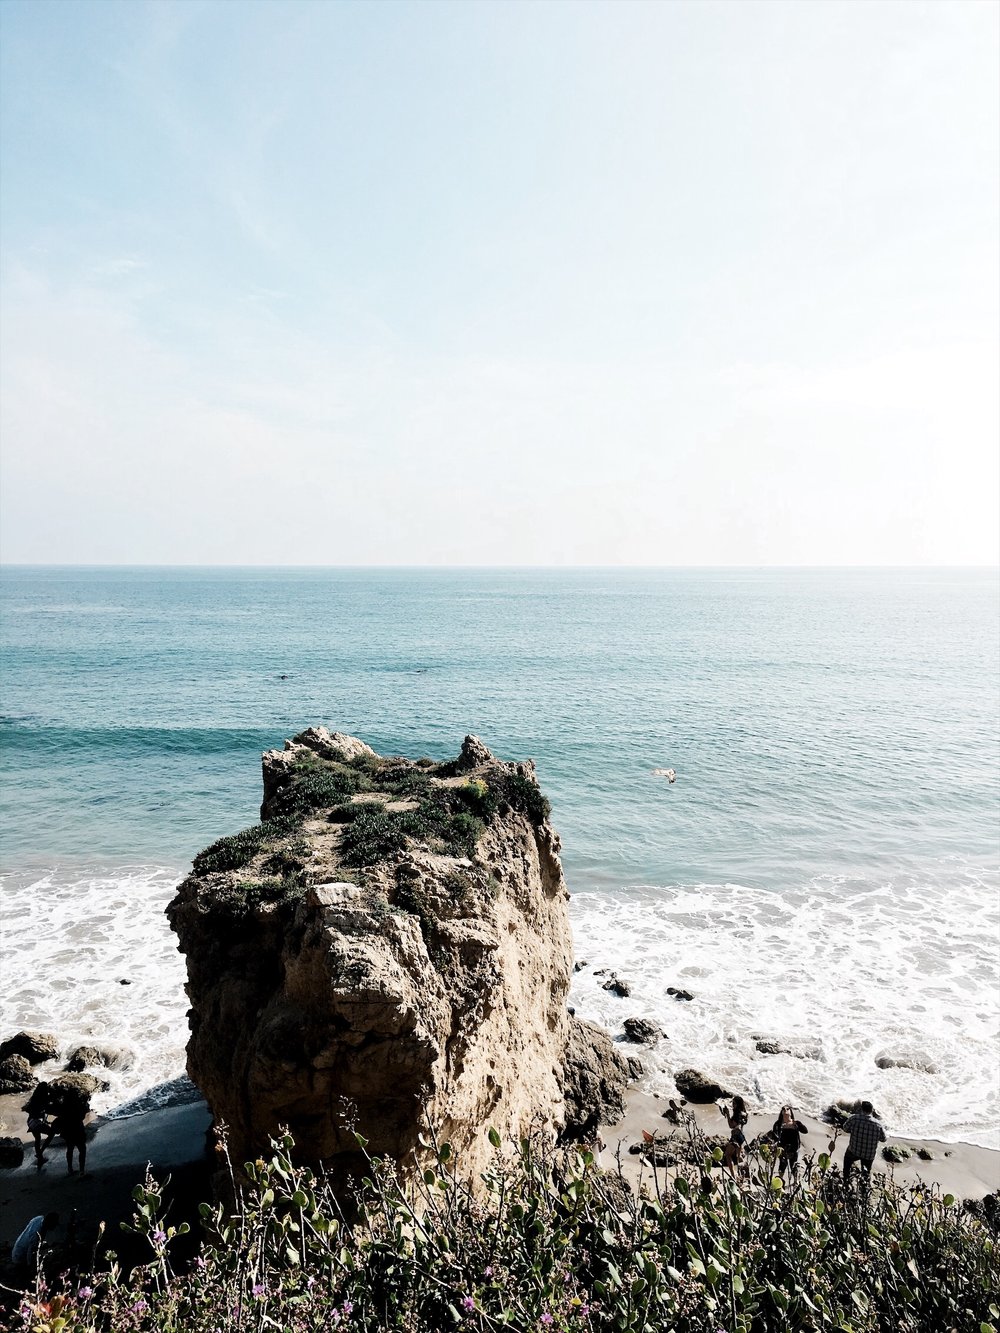
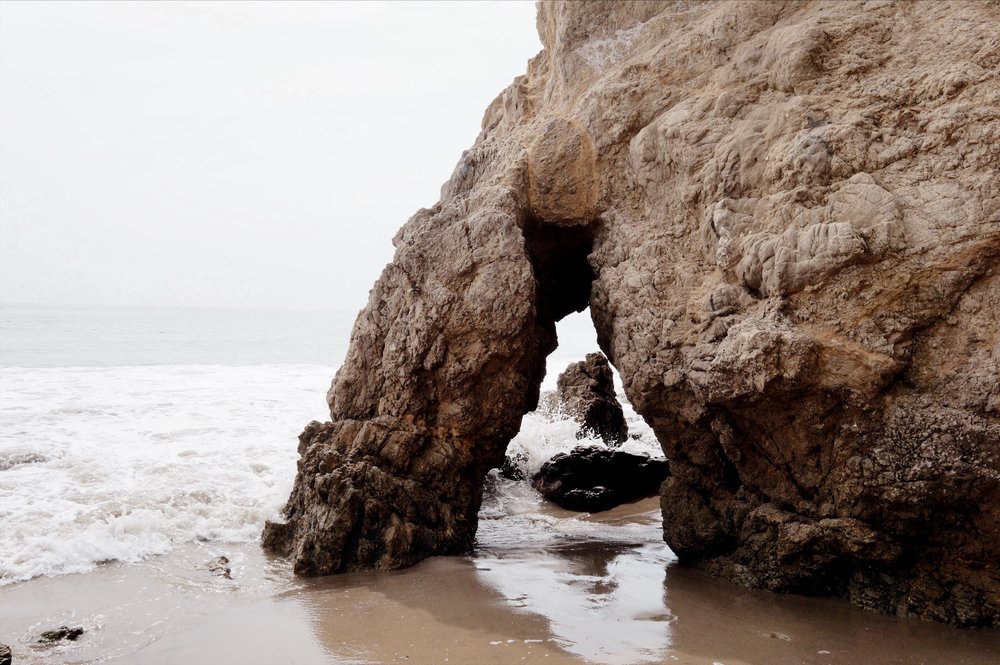
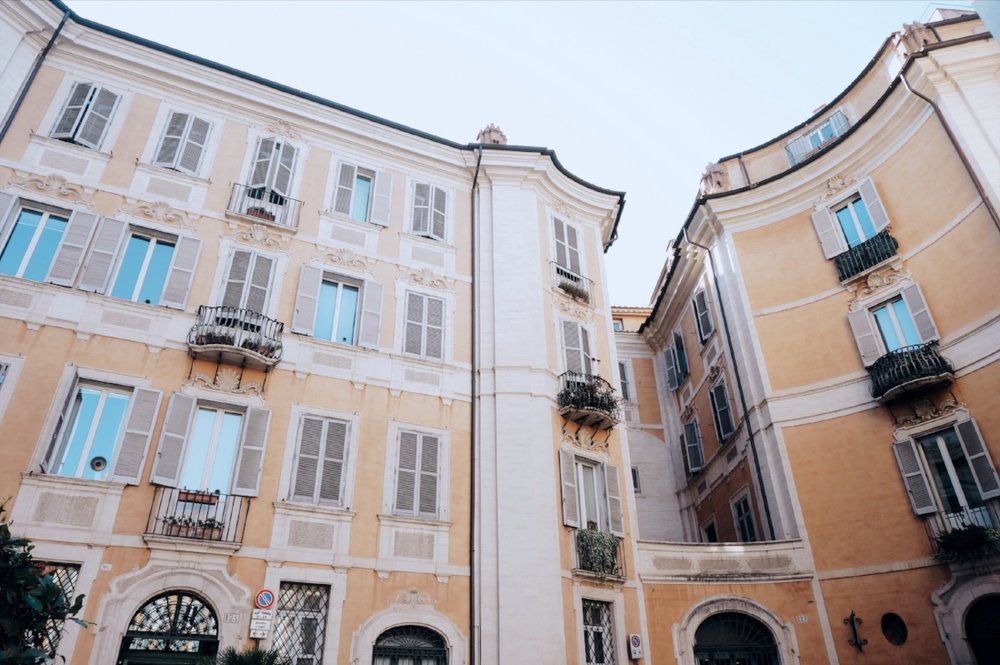
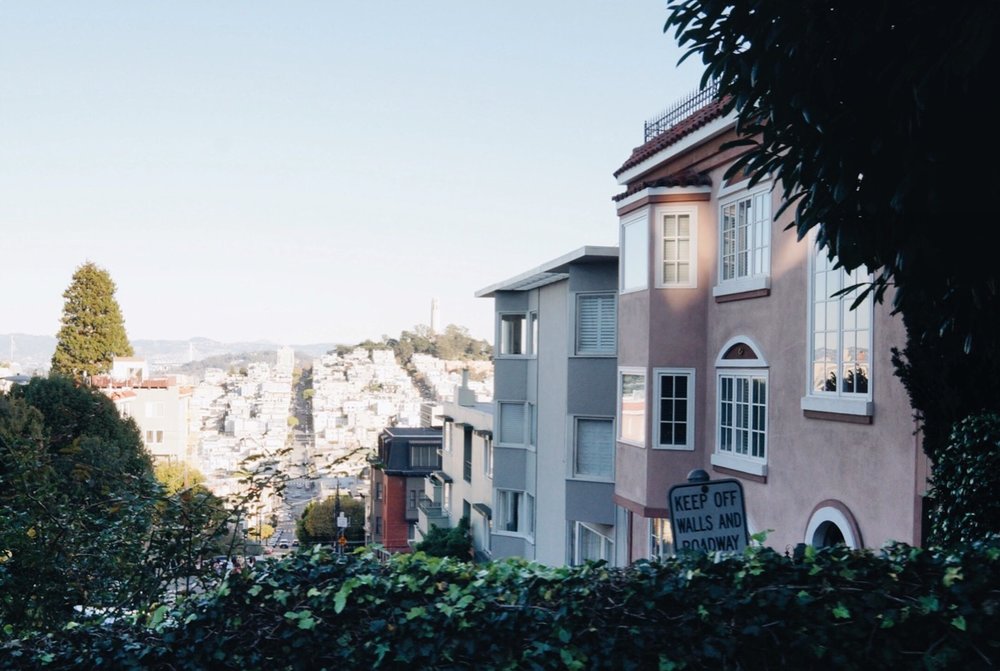
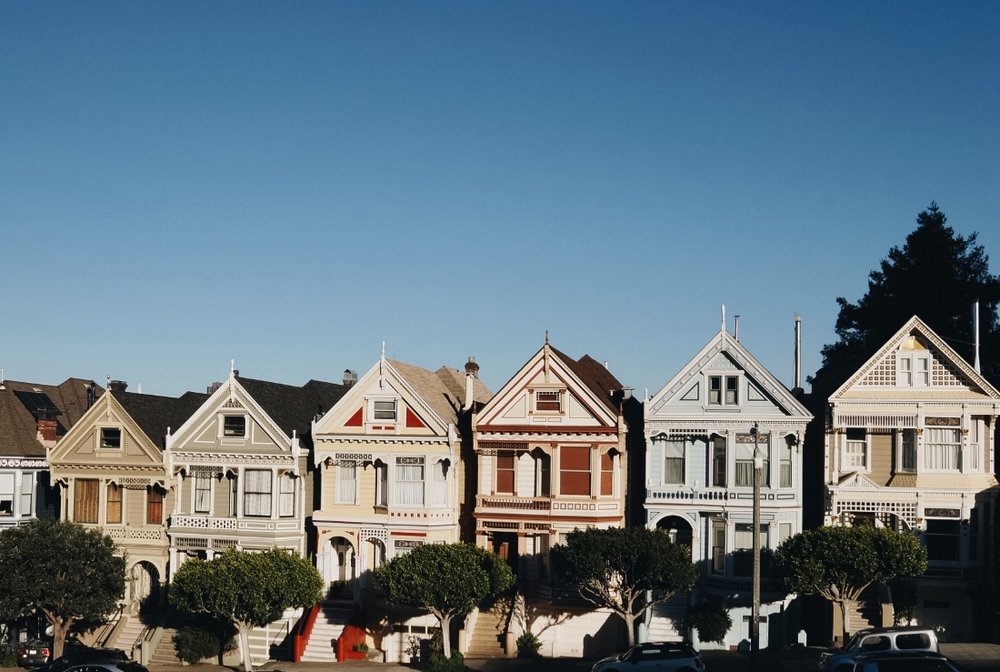
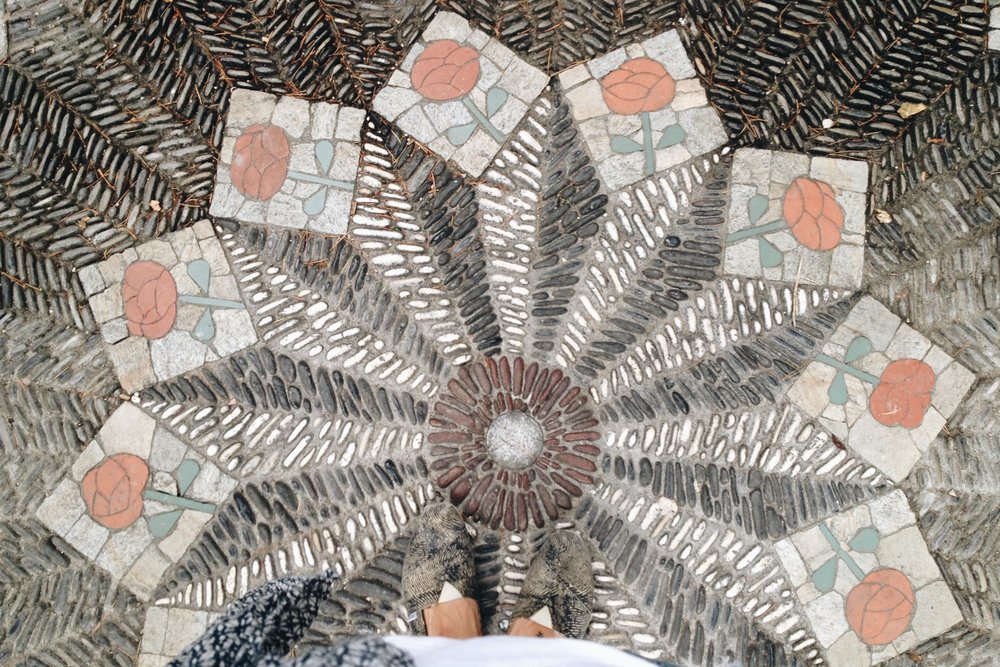
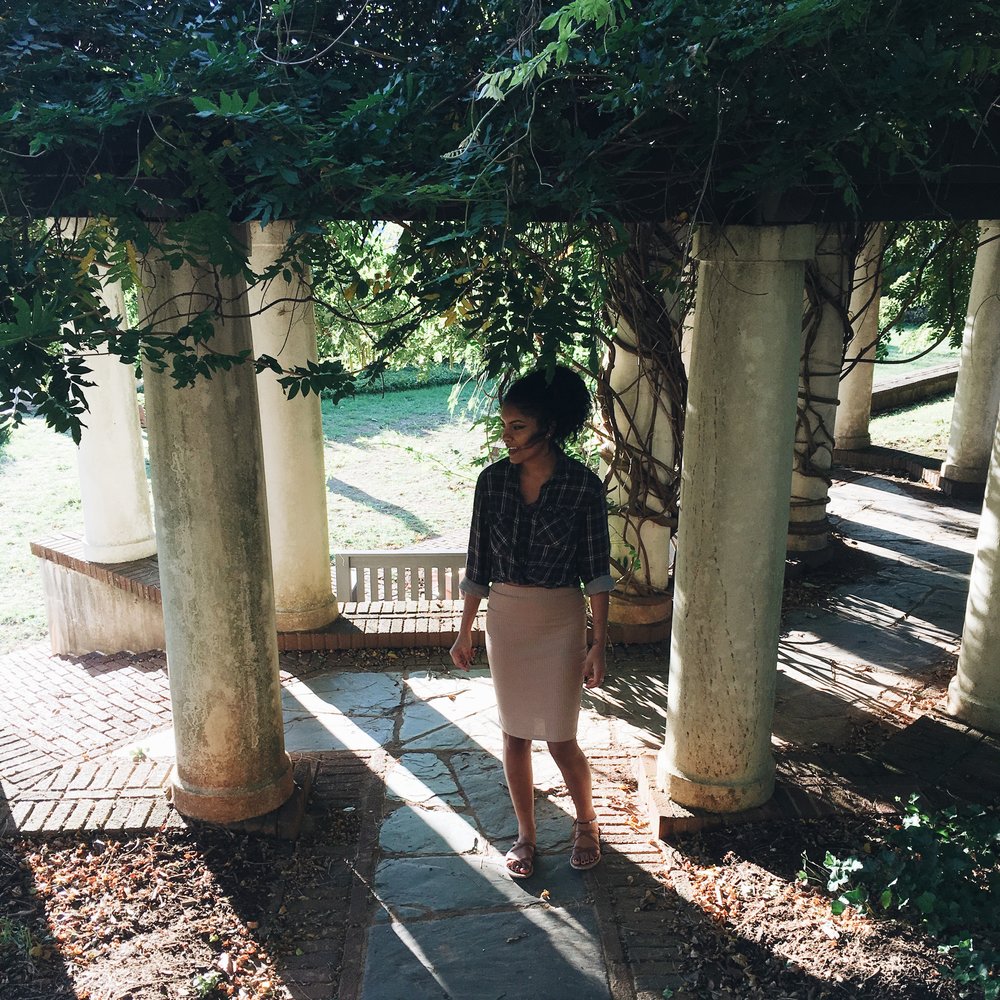
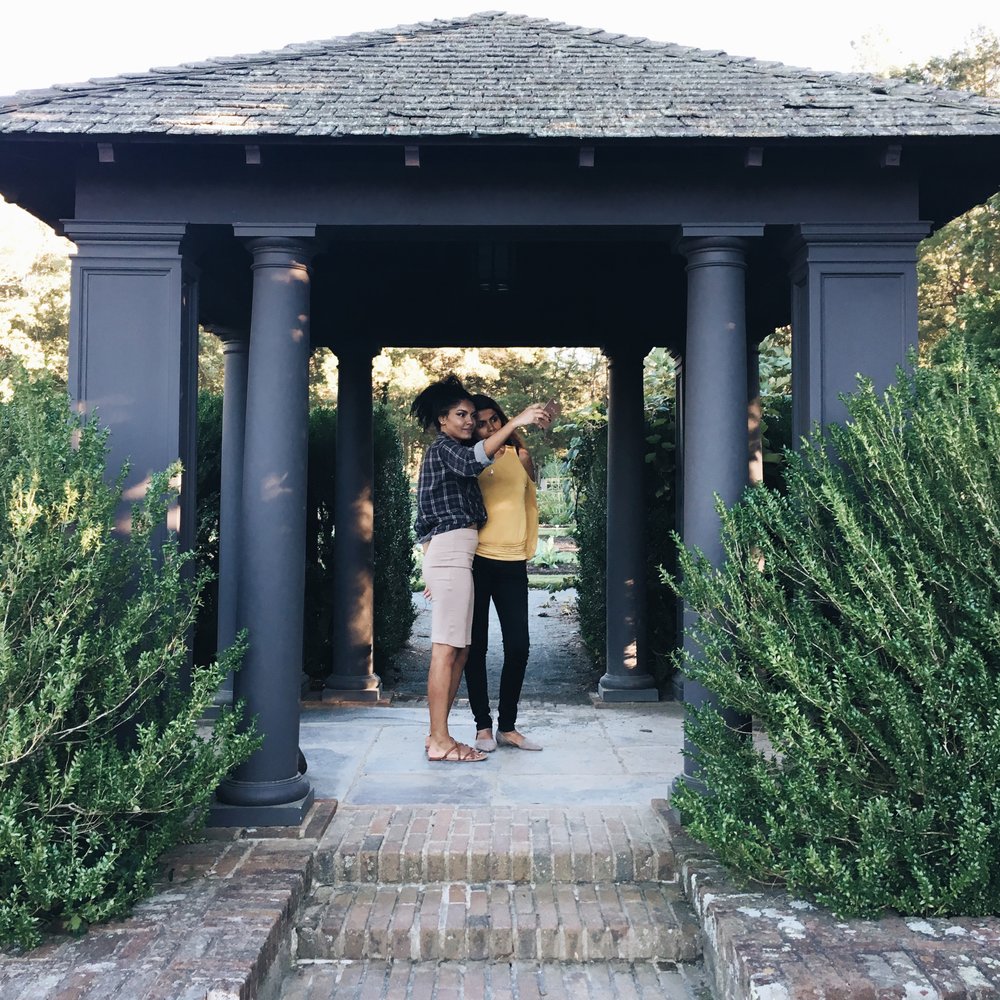
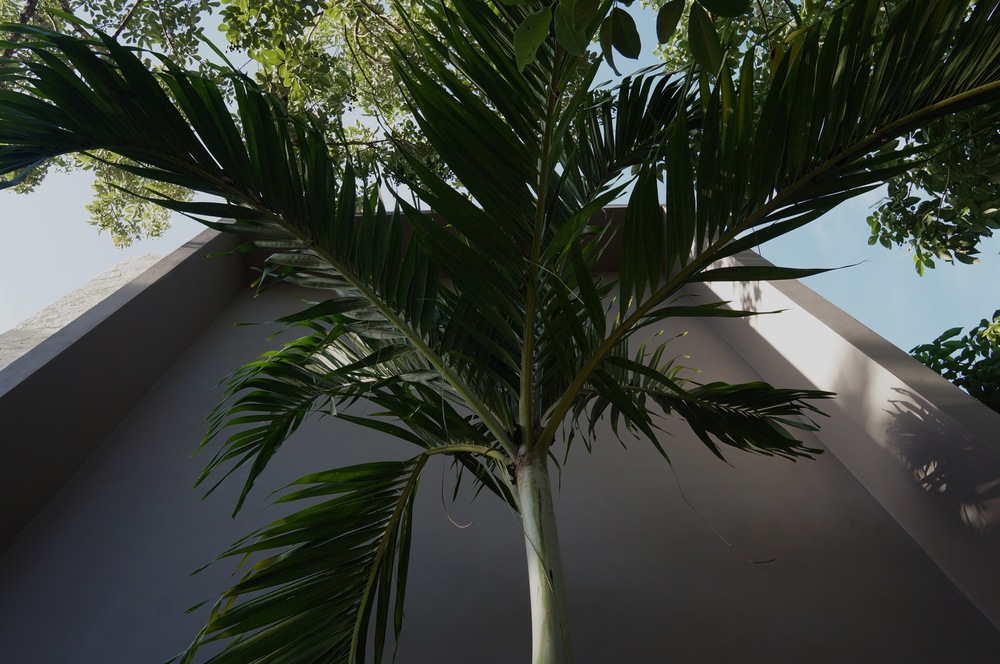
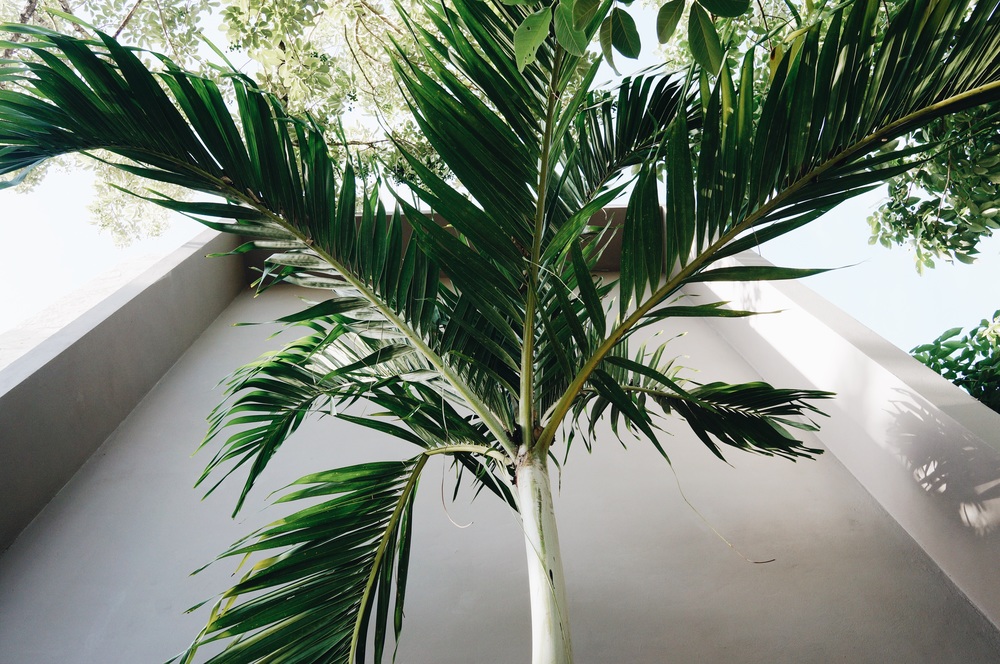
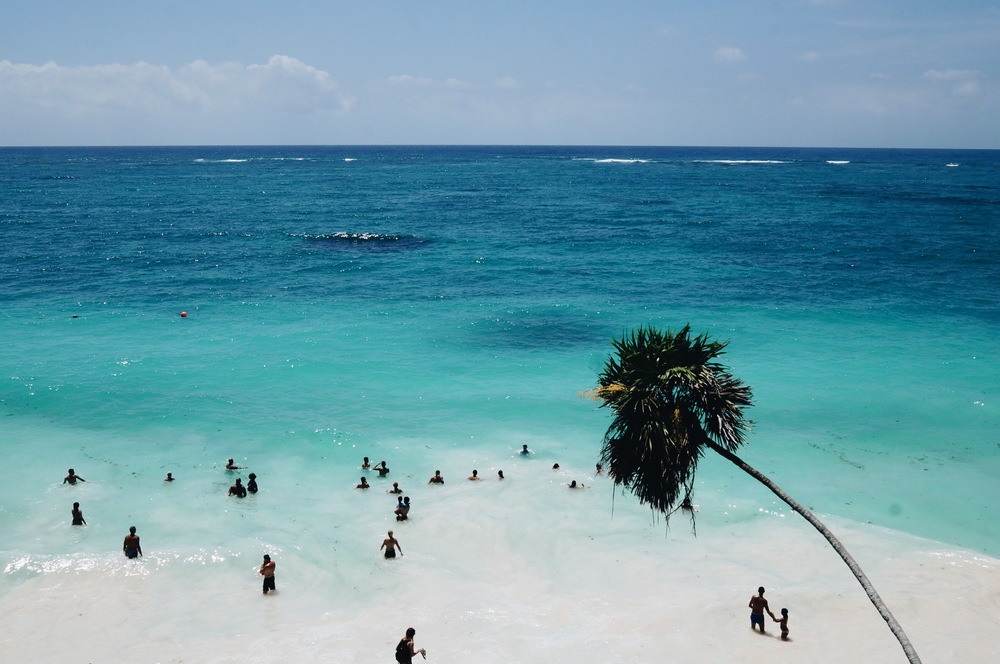
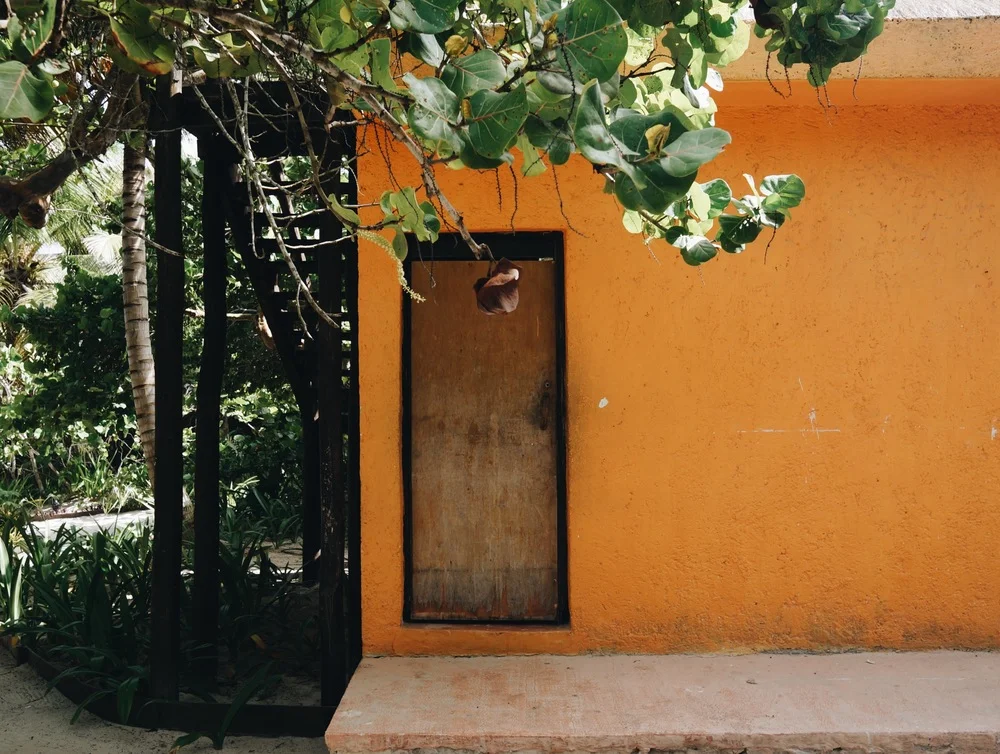
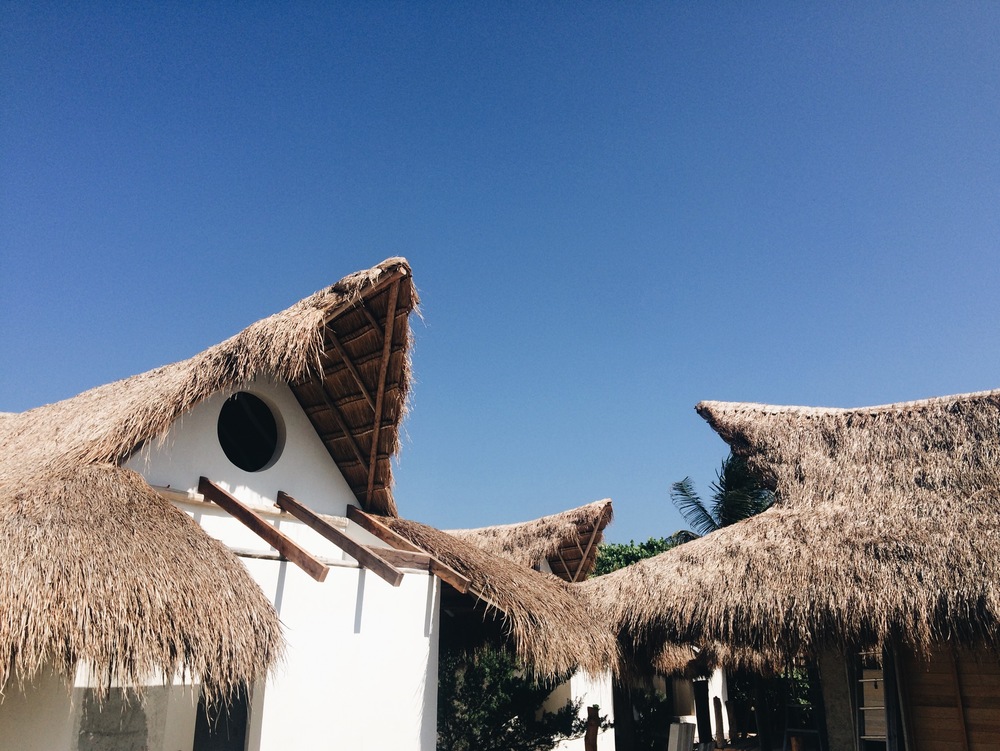
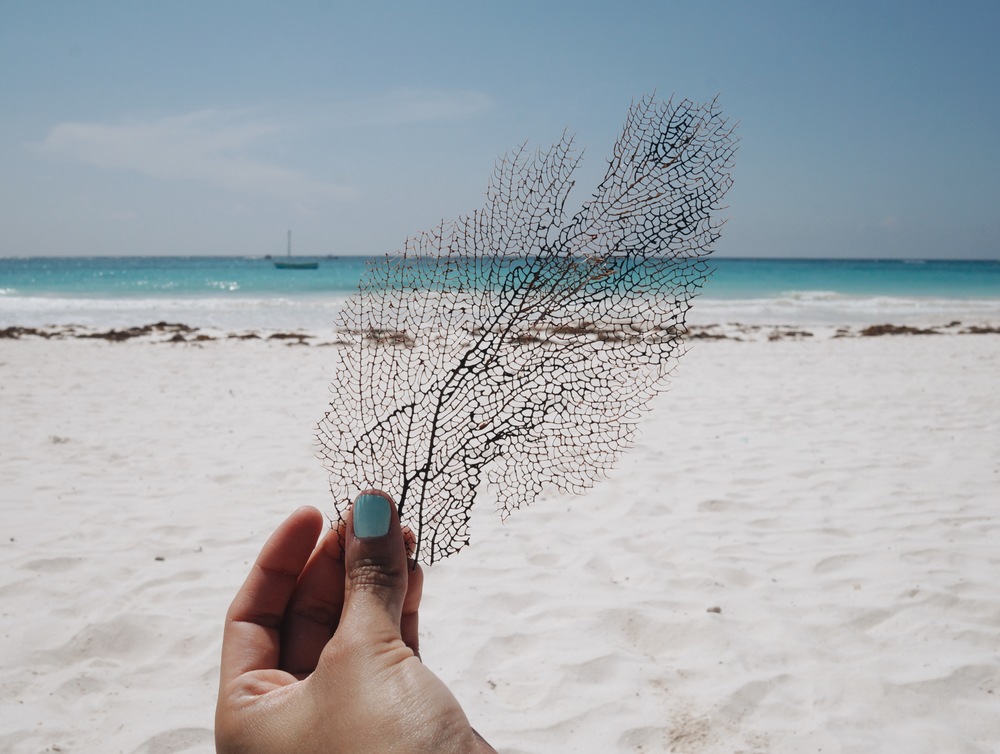
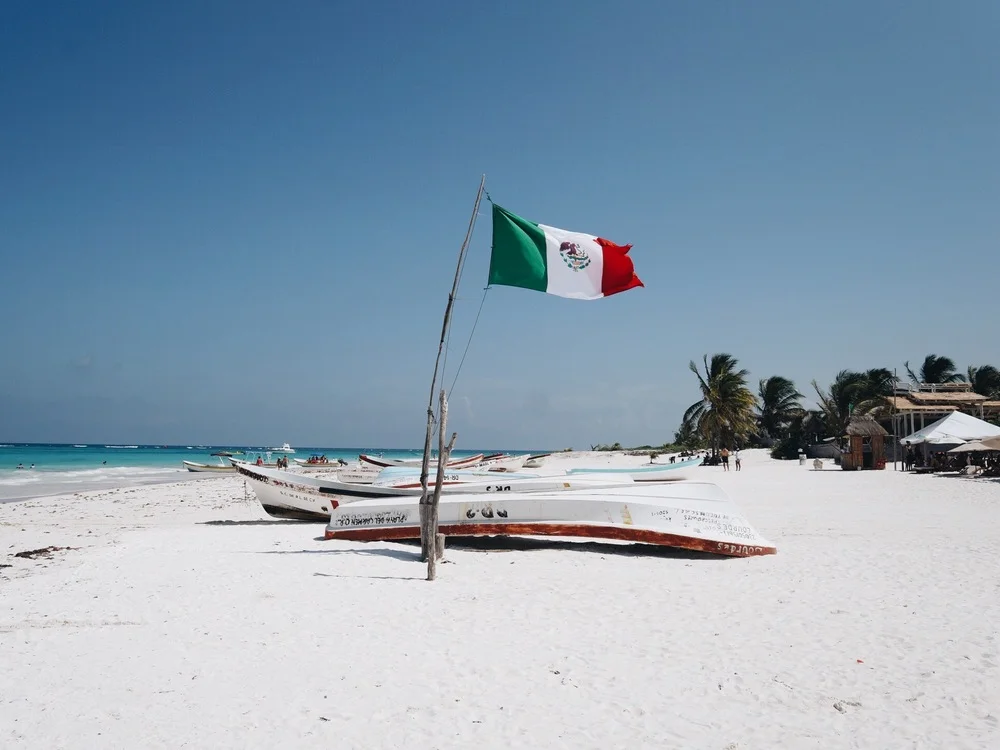
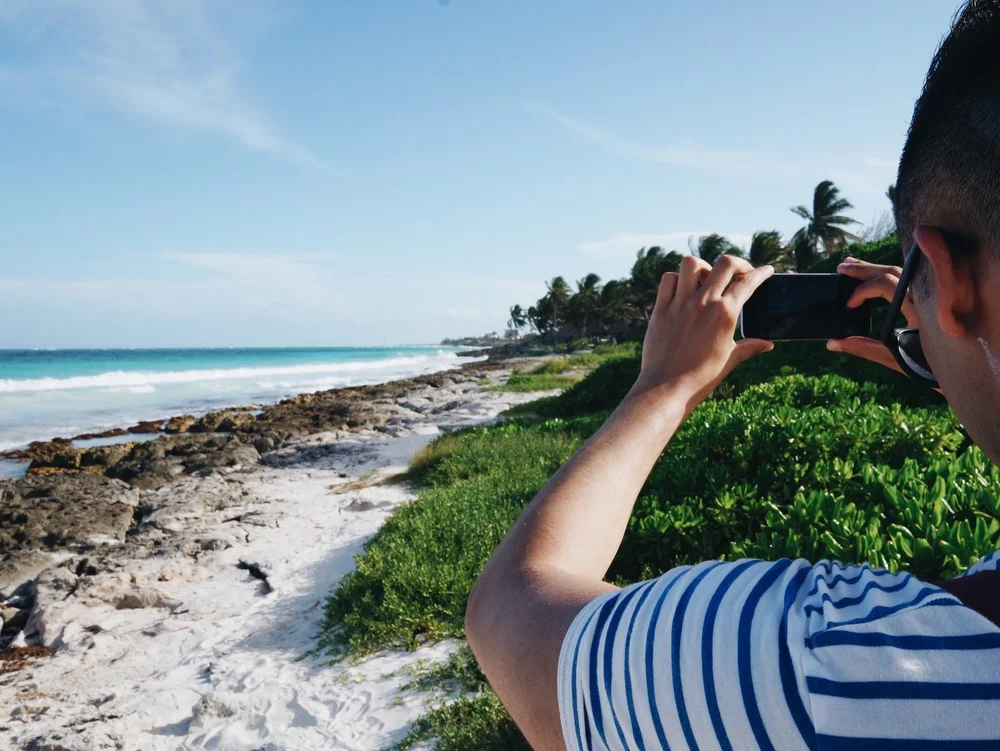
The drive up the Pacific Coast Highways is probably on of the biggest perks to living in southern California. One of my favorite activities is planning a getaway and researching new spots to stop and explore along the way. Maybe eventually I’ll share some of my favorite itineraries, but for now here are a few of my favorite captures from my latest escape.

Venice in Pictures

I found this draft post, tagged with photos uploaded and the works scheduled for March 1st... 2017! What is even worse is that these photos were from my trip to Venice in 2013!!! So here they are 5 years later. and although they are not the best quality (yay for improving photography skills) let's just say this post is for closure.

f4a7d-fullsizerender.jpg
85e56-fullsizerender.jpg
60433-fullsizerender.jpg
c9333-fullsizerender.jpg
4c6a1-fullsizerender.jpg
7727d-fullsizerender.jpg
452aa-fullsizerender.jpg
43d6b-fullsizerender.jpg
21042-fullsizerender.jpg
94422-fullsizerender.jpg
51726-fullsizerender.jpg
e642b-fullsizerender.jpg
9cb9f-fullsizerender.jpg
 

El Matador State Beach

I fell in love with Southern California, and it only took a week.

Last month my honey and I took a somewhat impromptu trip to LA. We usually mull over our destinations up to a year a head of time and then spend months planning. Maybe it was because of the tireless winter this year, or the depressing politics wearing away at us, but this trip was different. We decided in early February to get away and we on a flight in March. Let me just say, I could get used to this kind of spontaneity if this is what it produces.

We left California inspired and rejuvenated. And one of my favorite places was El Matador Beach in Malibu. The beach was a bit crowded, and the water freezing cold but nonetheless it was well worth the short drive up the Pacific Coast Highway. Just see for yourself...

d4b74-seesoomuch_malibu11.jpg
92a2a-seesoomuch_malibu5.jpg
4b057-seesoomuch_malibu2.jpg
db04c-seesoomuch_malibu13.jpg
999a8-seesoomuch_malibu12.jpg
a5ce5-seesoomuch_malibu7.jpg
a6c07-seesoomuch_malibu9.jpg
b6f36-seesoomuch_malibu3.jpg
3d93d-seesoomuch_malibu14.jpg
84841-seesoomuch_malibu1.jpg
ea7e6-seesoomuch_malibu10.jpg
0b4f5-seesoomuch_malibu8.jpg
e1651-seesoomuch_malibu4.jpg
f2656-seesoomuch_malibu6.jpg

I have more highlights from this trip to come, so stay tuned!

More Of California

A Minimalist's Thoughts After a Trip to the Flea

Feb 12, 2018

A Minimalist's Thoughts After a Trip to the Flea

Feb 12, 2018

Feb 12, 2018

Weekend Getaway: Palm Springs

Jan 24, 2018

Weekend Getaway: Palm Springs

Jan 24, 2018

Jan 24, 2018

Our Los Angeles AirBnB: Apartment Tour

Apr 27, 2017

Our Los Angeles AirBnB: Apartment Tour

Apr 27, 2017

Apr 27, 2017

El Matador State Beach

Apr 11, 2017

El Matador State Beach

Apr 11, 2017

Apr 11, 2017

Space Program Europa at the YBCA

Jan 25, 2017

Space Program Europa at the YBCA

Jan 25, 2017

Jan 25, 2017

How to Spend a Weekend in San Francisco

Jan 18, 2017

How to Spend a Weekend in San Francisco

Jan 18, 2017

Jan 18, 2017

The de Young Museum

Jan 13, 2017

The de Young Museum

Jan 13, 2017

Jan 13, 2017

San Francisco in Pictures

Jan 11, 2017

San Francisco in Pictures

Jan 11, 2017

Jan 11, 2017

Nice: A Photo Story

It may be the cool weather or the fact that I can feel the end of 2016 creeping up on us, but I have been nostalgically sifting through old photos lately. During one of my digital strolls down memory lane I stumbled upon my 2013 visit to the beautiful French beach City of Nice

This sweet French Riviera town was not originally part of my itinerary that year. After visiting friends in London I decided to book and impromptu flight and spend a couple of day on the beach before heading to Italy. While my stay was short it was certainly memorable... maybe 2017 is the year to return..!

5ca0d-img_7944.jpg
c963a-img_7962.jpg
37f44-img_7945.jpg
7df74-img_7947.jpg
5eef8-img_7745.jpg
451ae-img_7735.jpg
a562e-img_7957.jpg
13658-img_7956.jpg
8822e-img_7960.jpg
f9fef-img_7946.jpg
d4049-img_7750.jpg
04b59-img_7953.jpg
78a7a-img_7961.jpg
1f98d-img_7948.jpg
ab3f7-img_7950.jpg
8100e-img_7952.jpg
cf31e-img_7958.jpg
b1ca7-img_7943.jpg
31956-img_7951.jpg
c9bc5-img_7955.jpg

Travel Photography - How I Edit

Last week I shared how I like to shoot travel photography. This week I want to expand on that and show how I edit my photos. My aesthetic is clean and I prefer true to life images so here are my general tips on achieving that look. 

1. Tools

I used to use Adobe's Lightroom to process my imagery but I found that it can be time consuming even when using the awesome mobile app version. Currently I am loving the vsco (visual supply company) app, which is far less expensive and good enough for my style of editing. Vsco has all the editing tools I need in one place, I can use it on the go, and it has lots of fantastic filters. 

8e3e6-img.jpg

2. Lighting & Exposure

I think every good photo starts with considering lighting. I prefer natural sunlight and diffused light in my pics to give good clarity and color. That means enough light to ensure your camera can capture your subject without producing much grain or losing detail. I also avoid harsh and dark shadows generally. Lighting is something you definitely want to consider when you are shooting, but it will also play a role when editing. If an image is a bit dim I like to bump up the exposure (aka brightness) to brighten it up. I often look for something that should be white in my picture and make sure it is white and not grey or yellowish. I do this just enough as to not overexpose the image (remove all the blacks and shadows) but just enough so the photo feels light and happy.

fa7a3-ssm_underexposed.jpg
b34e6-image.jpg

3. PERSPECTIVES & LINES

I have a thing for symmetry and spatial balance in photos. I try to find lines whether they actually appear or just give the illusion of one and then rotate my photo to make that line straight. For this I use the vsco straighten, horizontal perspective and vertical perspective tools. The latter 2 tools are great if you picture is a bit askew because you shot it from an awkward angle and the straighten tool can do full rotations or very minute straightening. 

d3b11-ssm_crooked.jpg
02cda-ssm_straightened.jpg

4. CROPPING & FRAMING

I don't often crop my photos because automatically it reduces the number of pixels and thus resolution so if I go to print or display in large format the pictures could become blurry. But in some circumstances a photo could do with a bit of strategic cropping. Often I will remove unwanted objects. I also like to crop in order to better frame the subject of a photo. In the photo of the ruins below I both removed the tourist rope in the bottom right corner, an artifact in the blue sky, and framed the ruins with the natural plant life in the shot.

c1386-image.jpg
5f48c-cropped.jpg

5. FILTERS

Filters help create a mood and bring cohesion to a series of images. I try to find ones with minimal color shifts and decrease its intensity a bit. There are many free filters on vsco but my favorite right now is A6 which I bought (for a dollar) in a set of 3 as part of vsco's "Aesthetic Series." I also love the "Legacy" collection that gives a very analog and serious vibe to photos. Now check out the previously edited photos with the A6 filter. The changes are subtle but give the images that extra polish.

b9a9c-ssmunfiltered.jpg
c4994-image.jpg
da6be-image.jpg
f20cc-image.jpg
8089c-image.jpg
560a4-image.jpg

This ends it for part two of my travel photography series! I hope this was helpful, and if you haven't yet check out part one with my shooting tips!

Travel Photography - How I Shoot

I love photography and ever since I started embracing a more minimal lifestyle I depend on my travel photos as souvenirs. Both my partner and I aren't big fans of bringing things back for ourselves or friends and family from trips (for a few reasons that I will get into in another post sometime soon!). Since photos will pretty much be the only tangible memory of my travels I take a lot of them and I put quite a bit of care into editing and storing them. Today I want to focus on my shooting "technique" if you can even call it that 😅! These are a few things I noticed about how I take my travel photos.

1. Look with the eyes first

Although I am all about getting a great picture and documenting every moment of a trip I try to make sure I am actually experiencing each moment. If the camera has been to my eye for too long or I get sucked into reviewing pictures while still on vacation that means I am not being present and I need to step back for the camera for a while. And if I don't catch myself, my partner has gotten really good at doing it for me. I'm all about creating real memories first, pictures second.

a6ebc-image.jpg

2. Content

Now that I am enjoying my vacation there are a few things I like to have pictures of:

Landscapes

Part of the thrill of visiting new lands is a change of scenery. That's why I end of taking soo many pictures like the one below documenting all of the foreign beauty I see.

afed6-image.jpg

Architecture

I love architecture and design. Part of what gives a destination charm are the buildings it has. Thats why I inevitable come home with a gigabyte of pictures like these...

a3fd7-image.jpg
868ce-image.jpg

Food & Objects

I may be basic but I love taking pictures of my food. Food evokes some of the strongest memories because it takes you back to place using almost all of your senses. I love having pictures of delicious meals like these amazing traditional tacos I had in Coba below. Similarly I take picture of interesting objects I wouldn't find at home.

69692-image.jpg

Candid Portraits

Some of my favorite portraits are those taken when your subject is caught off guard. Candids have the power of recreating a moment and taking you back in time.

39b6d-image.jpg

3. Style

Most photographers have a definitive style that makes their work recognizable. Although I certainly haven't developed a real style (yet at least!) I do have a few specific ways I really enjoy shooting right now. 

Flat, straight on

The flat shot is one of my favorite photos to take. I usually have a specific subject in mind  (below my subjects are those gorgeous cacti) and shoot in such a way so that my camera lens is parallel to a wall (or floor) behind what I am shooting.

d1c71-img_5713.jpg

Up close & minimal detailS

Sometimes you just need to get a little closer. Photos like those below highlight one item in detail with very little context. I take photos like this when shooting food, little objects or when I have taken a few wide photos of a place and want to capture more of its unique details.

4b2b1-image.jpg
58605-image.jpg

Wide & contextUAL

Other times it helps to take a step back. An wide photo has the potential to capture and entire setting including tons of information (and beauty!).

86b89-image.jpg

4. EQUIPMENT

I honestly don't think equipment really matters that much. I have taken pictures with the front facing camera on an iPad before (I implore you not to do this) and although not the best quality I have photos form my trip to Paris I still hold dear! When traveling I alternate between my iPhone and my Sony mirrorless camera - on my last trip I had the 5s with which I took all of my instagram photos. Both of these devices are easy to operate, lightweight and produce very high quality images.

3d2bf-image.jpg

I hope this little how to helps you take more photos you can cherish forever. Look out for part 2 on how I edit my pics coming soon!

See Part 2 on how I edit photos here